Showing posts with label stationary. Show all posts

6.21.2011

feathers and dandelions

I had a little stamping party by myself the other night.


These are two of my favorite stamps in my collection...


I used some embossing powder with glitter to give this little flower a bit of sparkle.

6.14.2011

Photo Cards

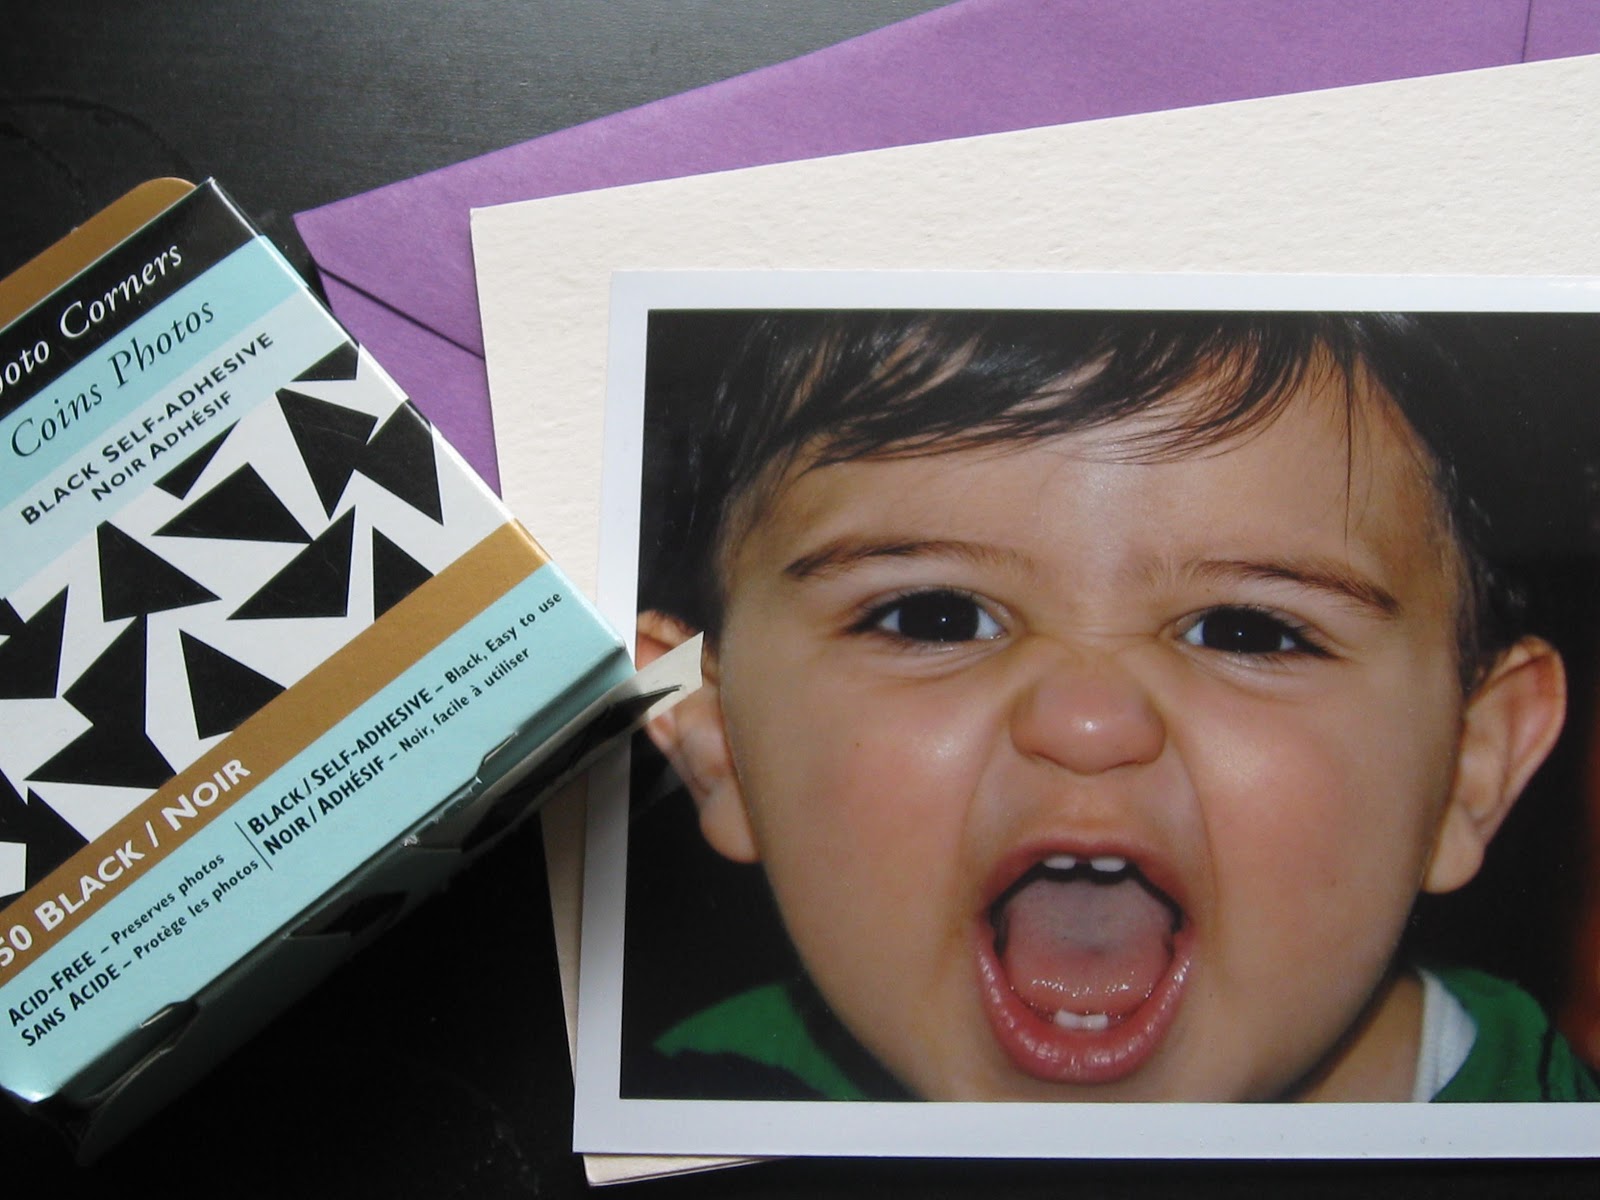
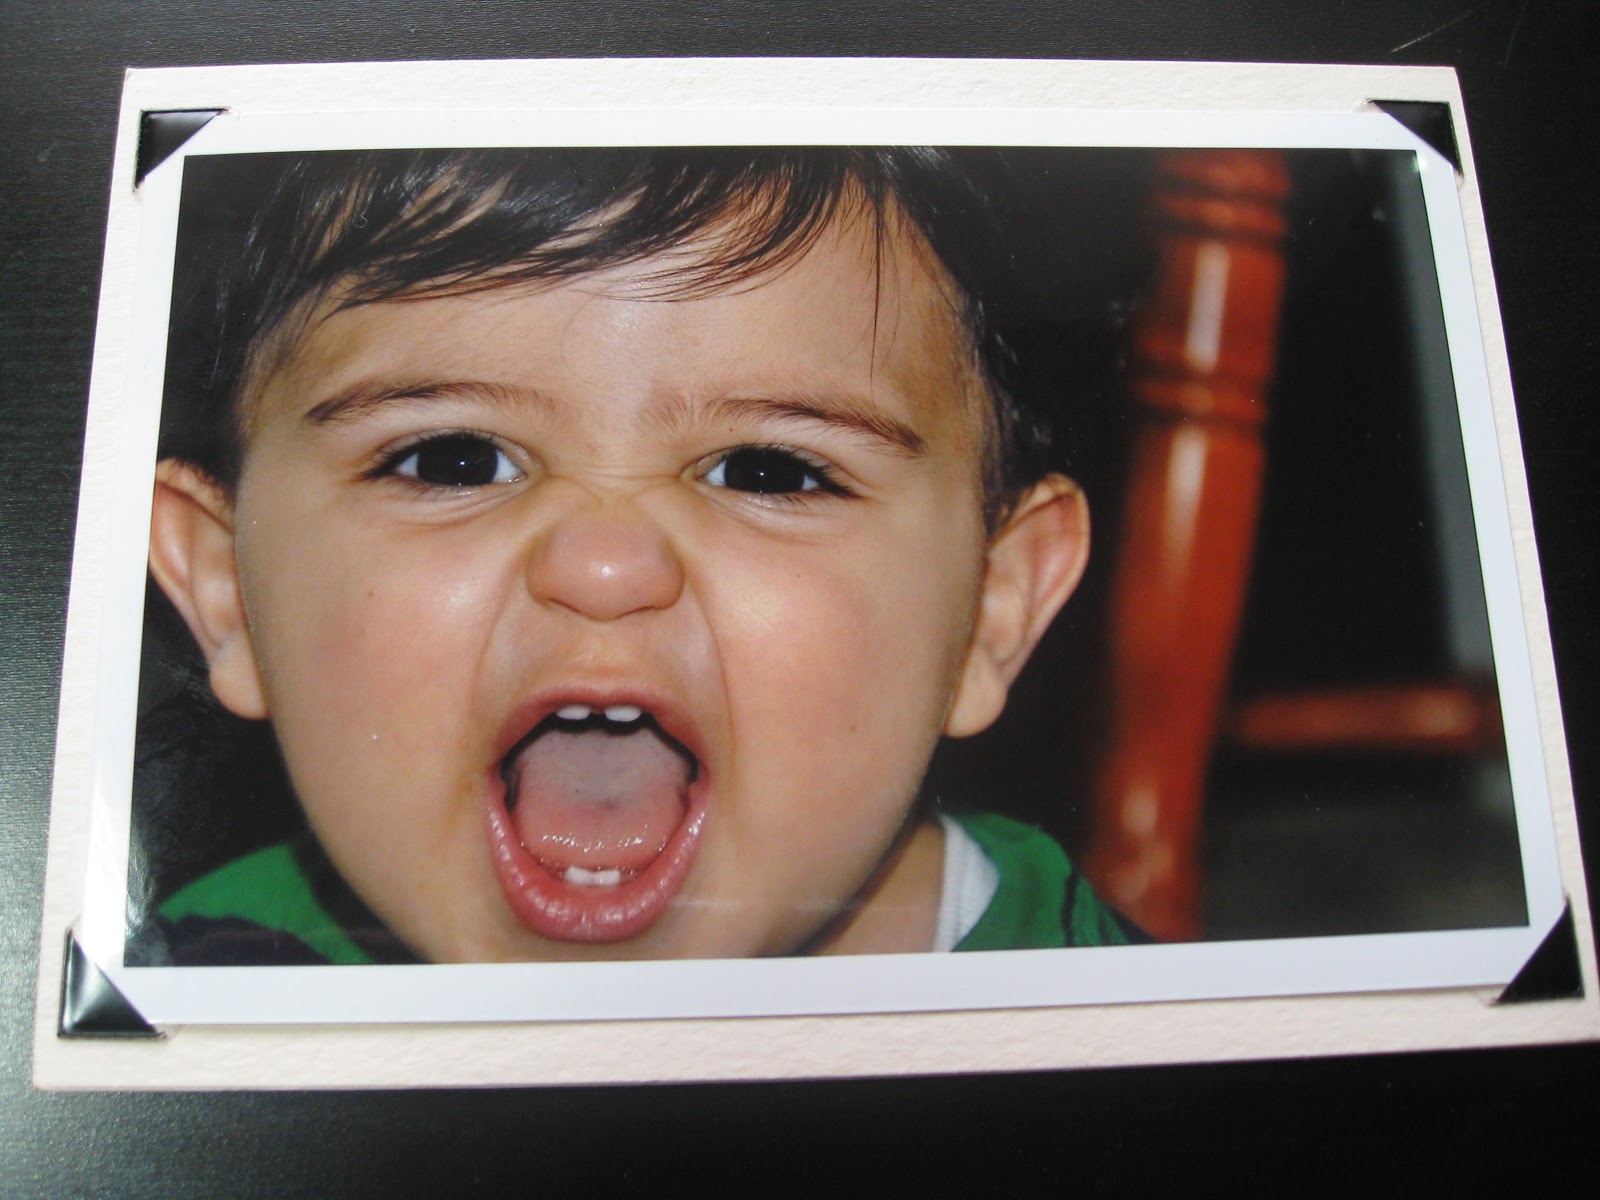
These photo cards are like double gifts!  You not only are sending a special card to a friend, but these cards also have removable photos on the cover.


What You Need:

Photo - I used 4" x 6"
Foldover Card - I used Paper Source in A6 (6.5" x 4.5"
Envelope - Also, A6 from Paper Source
Photo Corners, self adhesive.

First, the photo corners need be put onto the photo (sticky side towards the back).


I usually place the photo face down when adding the photo corners.  This keeps it from sticking to random things.


Once all the corners are in place, I center the photo above the note card and adhere it...


It's as simple as that! Add a note on the inside and your ready to go!

6.07.2011

Etsy Artist: Pistachio Press

I've recently become a fan of stationary. I've always loved having pen pals and writing letters, but when I was younger, I never realized how cute stationary could be!  

I found Pistachio Press on Etsy and really love a few of these designs.

free flying...


For when you just need to say it again...


There has to be a resemblence to just about everyone you know on this card. 

Can you find one that resembles yourself??  I've already found myself!

5.09.2011

Stamping: Stationary DIY


Why spend tons of money on ordinary stationary that just about anyone can buy? I love the idea of taking simple and plain cards and envelopes and personalizing them for a specific occasion.  In this case, I wanted to add a little something special to a white envelope.

My love for paper source started with their large collection of stamping supplies.  You can purchase everything you'll need from them!


What you'll need:
*Plain envelopes
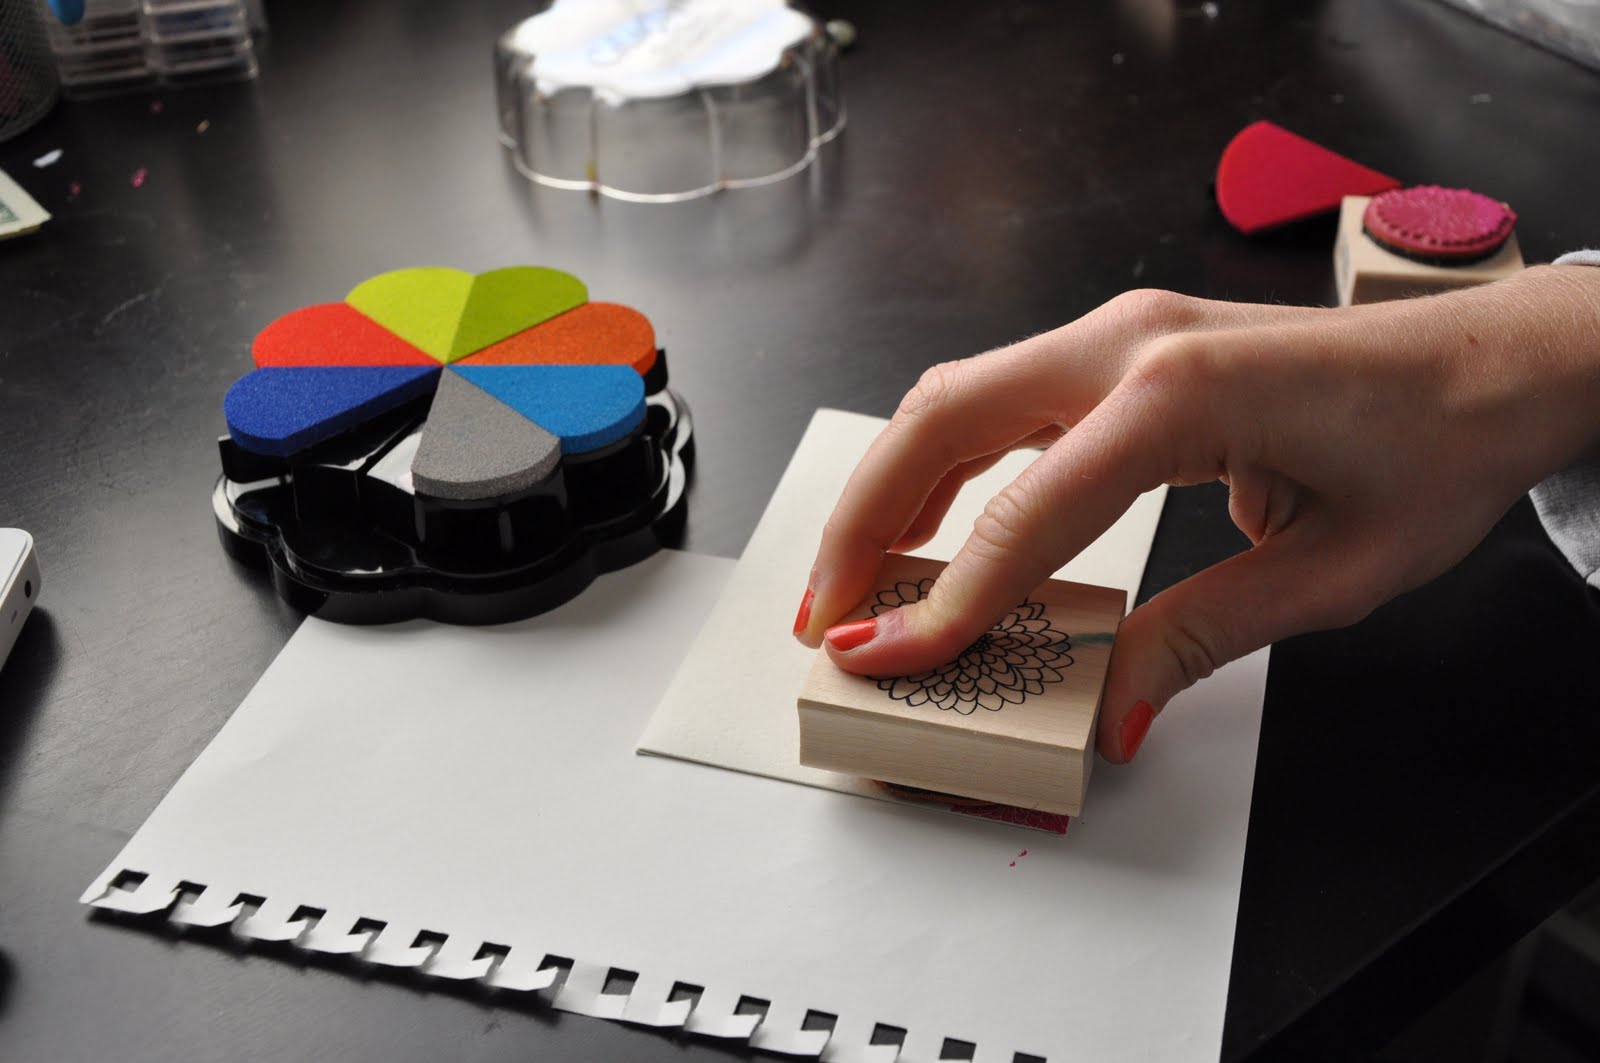
*Ink Pad - I used Color Block's 8 pigment wheel in Enchantment
*2 stamps of similar shape and design  (I used: here and here) - Small and Large sizes
*Superfine Clear Embossing Powder
*Heat tool
*Pad or paper for shaking embossing powder over


 After inking the first stamp, press down on corner of envelope so that stamp covers entire corner (even hangs off slightly).
 Ink larger stamp.
 Place larger stamp over the first stamp.  I like to place it above and slightly to the side. 
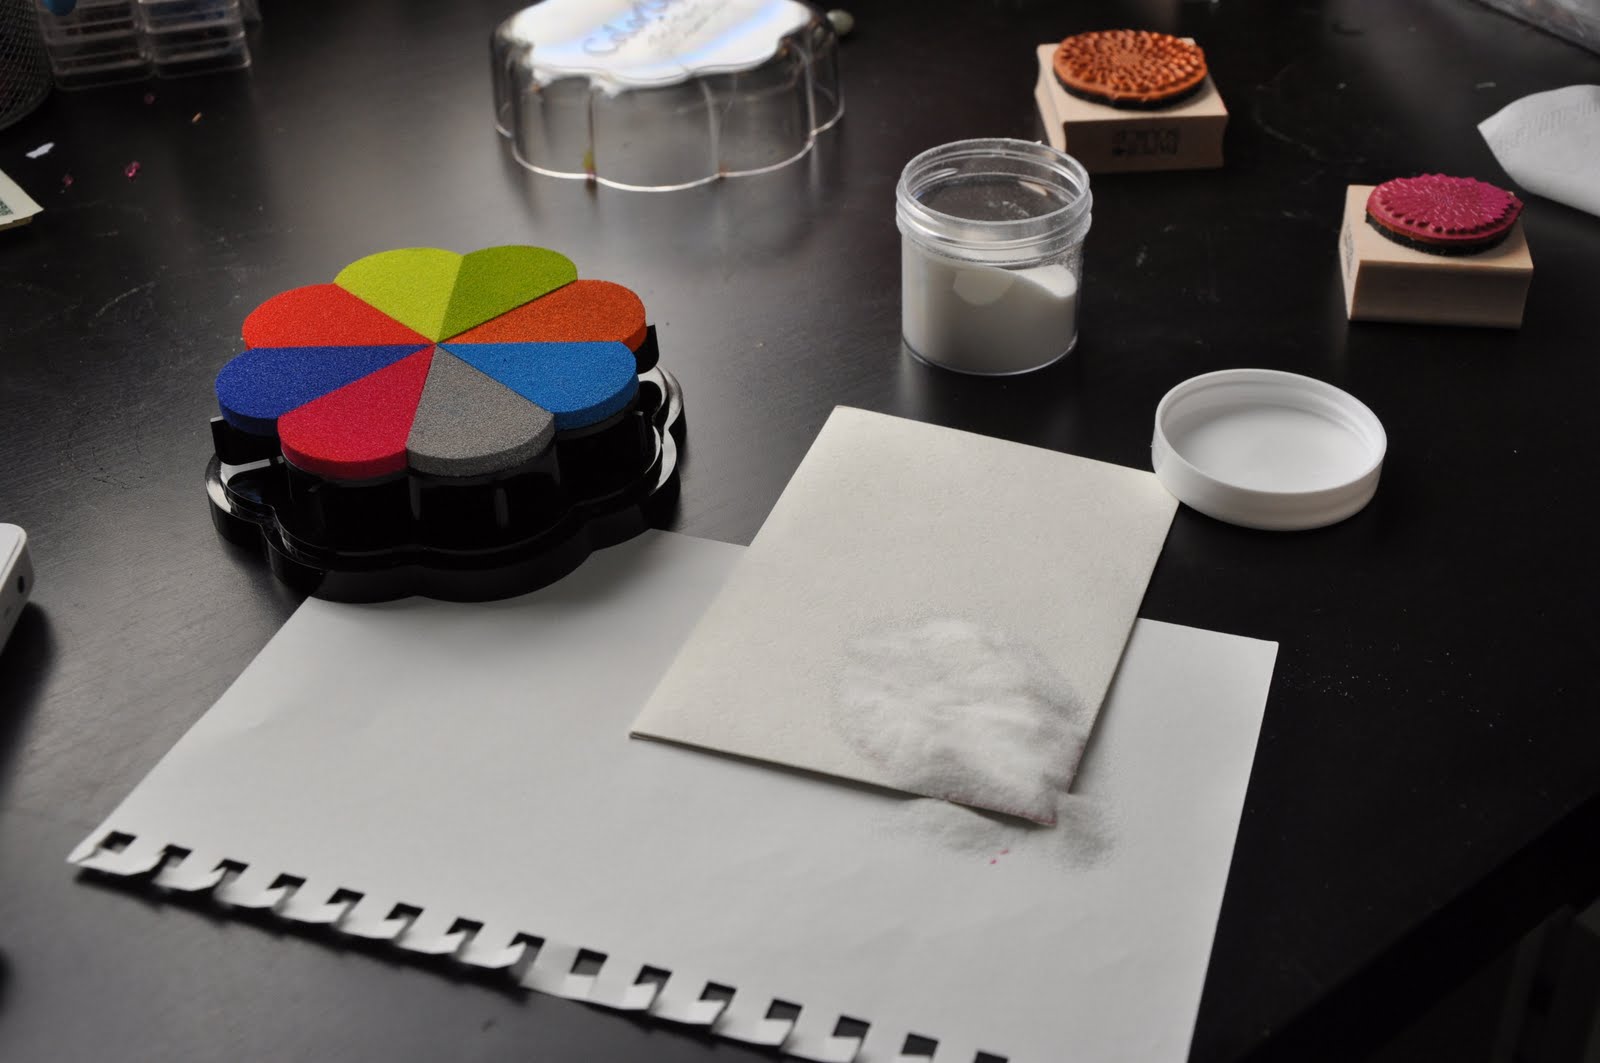
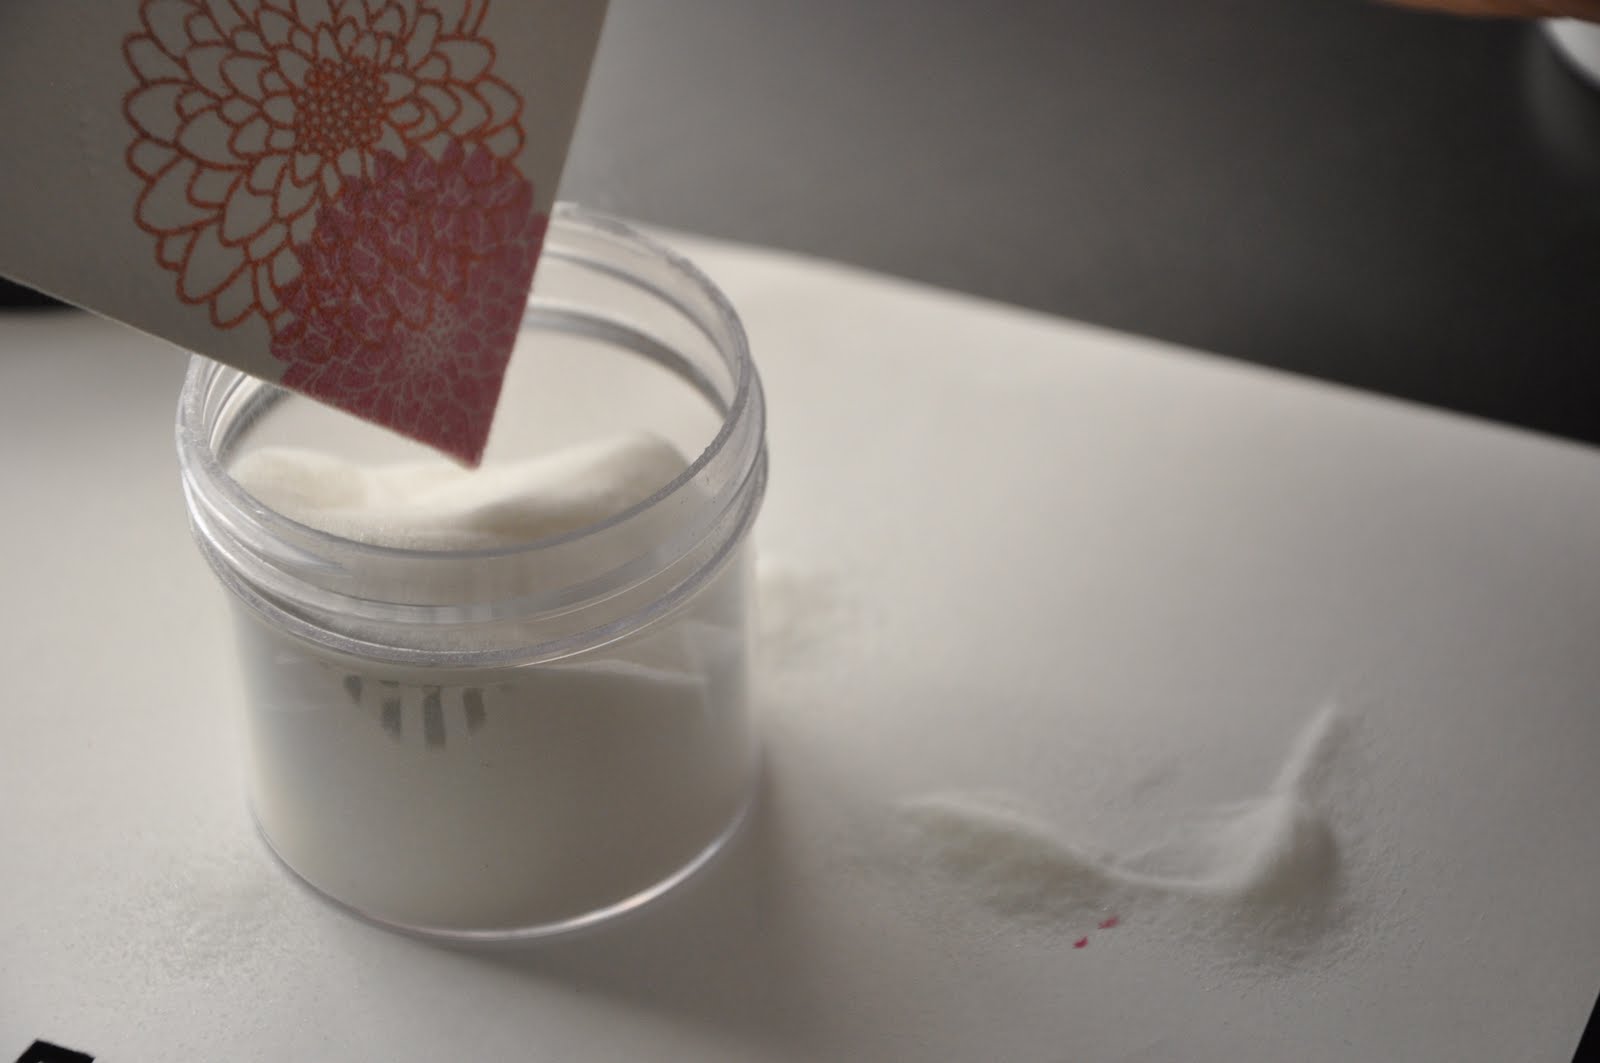
Once the inking is complete, sprinkle embossing powder over entire stamp. 
 Should look like a small mountain of powder.
Dust off excess embossing powder back into jar. 
 
 The stamp should like slightly raised and dulled in color with the embossing powder on it.
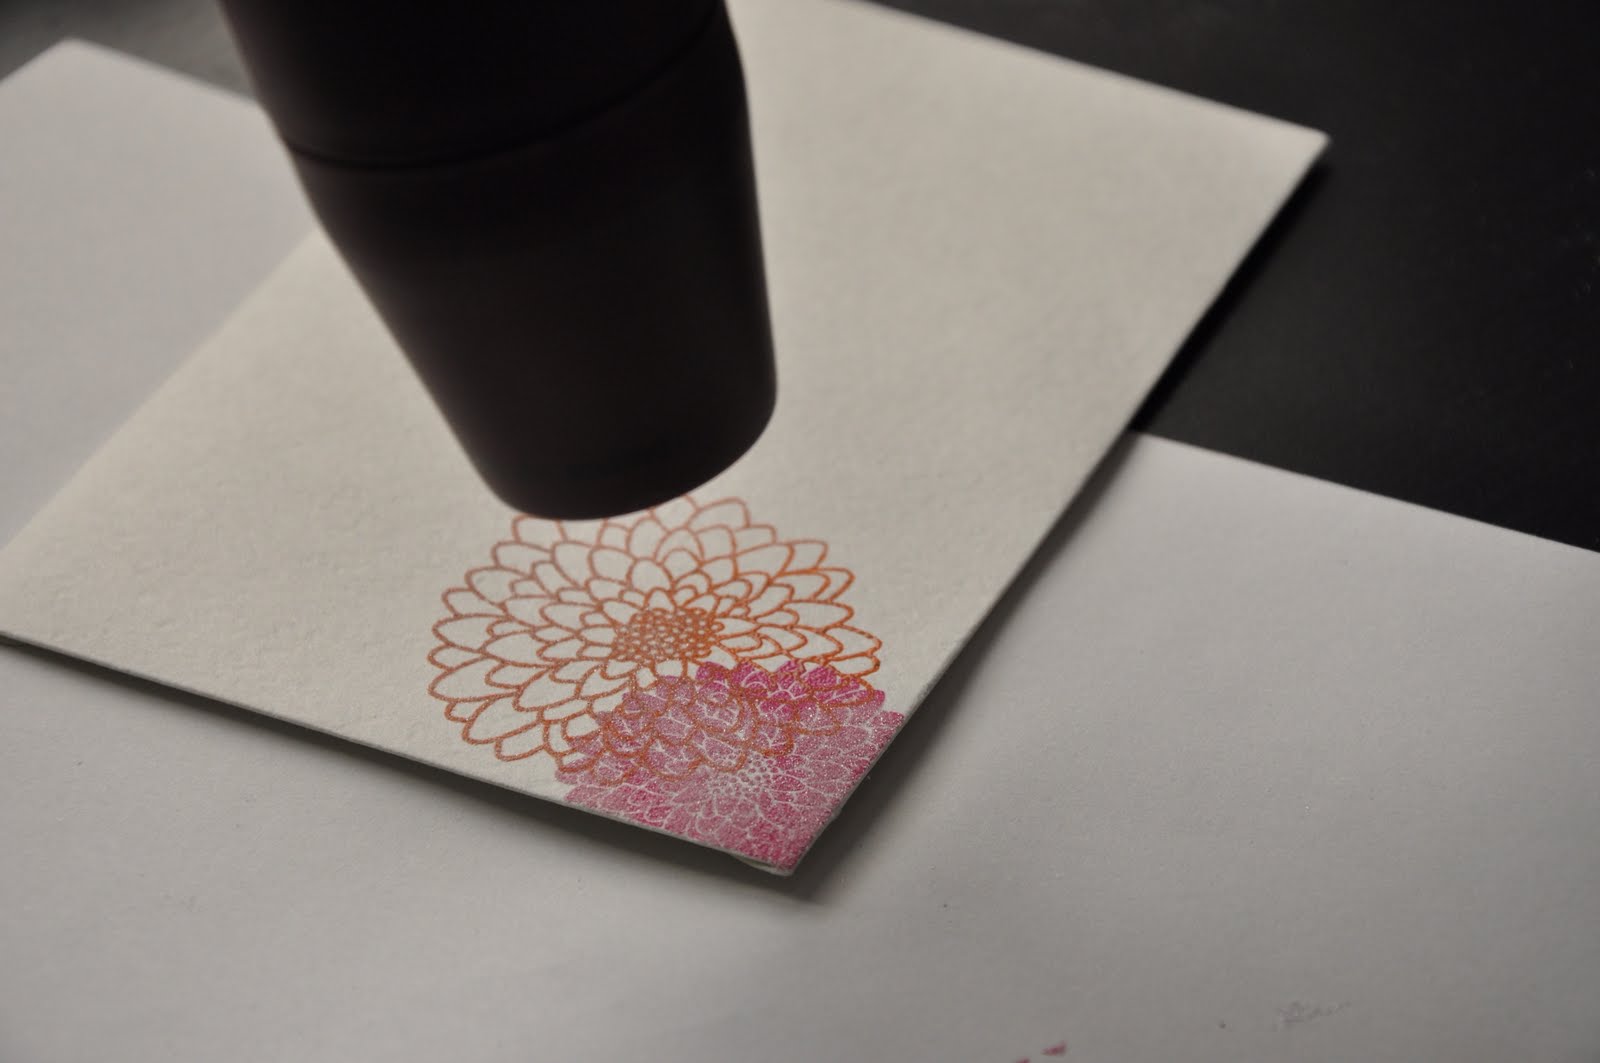
 In a circular motion, move the heat gun around the stamp so it evenly melts the embossing powder.
 The stamp will begin to look shiny in some areas and powdery in others. Your all done when the entire stamp is shiny and puffed up.
Like this!
 
 All done!