6.16.2011

How Do You Store Your Jewelry?

I have tons of jewelry that usually ends up in every place except my jewelry box....

Here's the only part I'm not embarrassed to show 
(It's possible I did a quick clean up before taking these pictures)


Here are some fun and unique ways to display and store your jewels.


Source: etsy.com via Katie on Pinterest


How do you store yours?

6.15.2011

Etsy Artist: Silly Buddy

I was browsing Etsy the other day and this adorable shop appeared. Silly Buddy makes bow-ties and preppy collars for puppy's and dog's. 

Sage Honeycomb

 I don't know which is cuter- the dog or the bow-tie it's wearing!
Tangerine Honeycomb
When I get married, I want to have my dog in attendance, wearing this adorable bow tie.

First I need to find a dog...and a boyfriend!

6.14.2011

Photo Cards

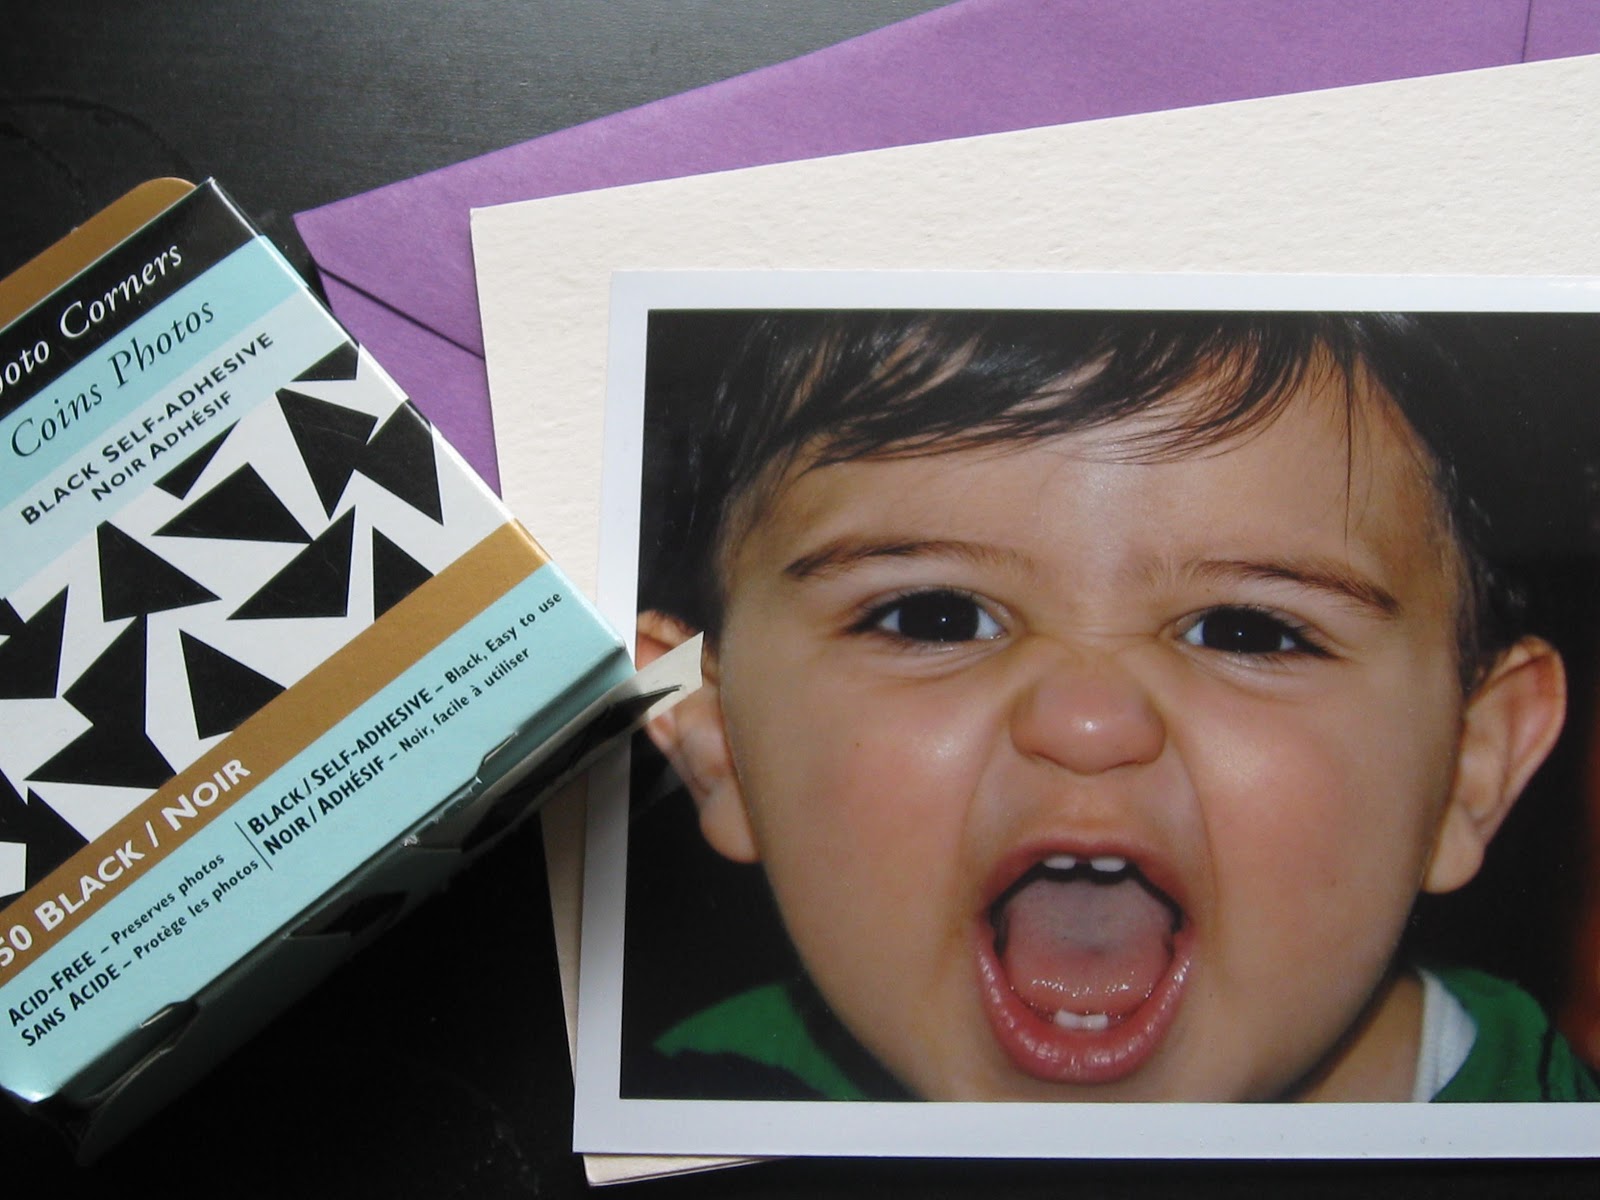
These photo cards are like double gifts!  You not only are sending a special card to a friend, but these cards also have removable photos on the cover.


What You Need:

Photo - I used 4" x 6"
Foldover Card - I used Paper Source in A6 (6.5" x 4.5"
Envelope - Also, A6 from Paper Source
Photo Corners, self adhesive.

First, the photo corners need be put onto the photo (sticky side towards the back).


I usually place the photo face down when adding the photo corners.  This keeps it from sticking to random things.


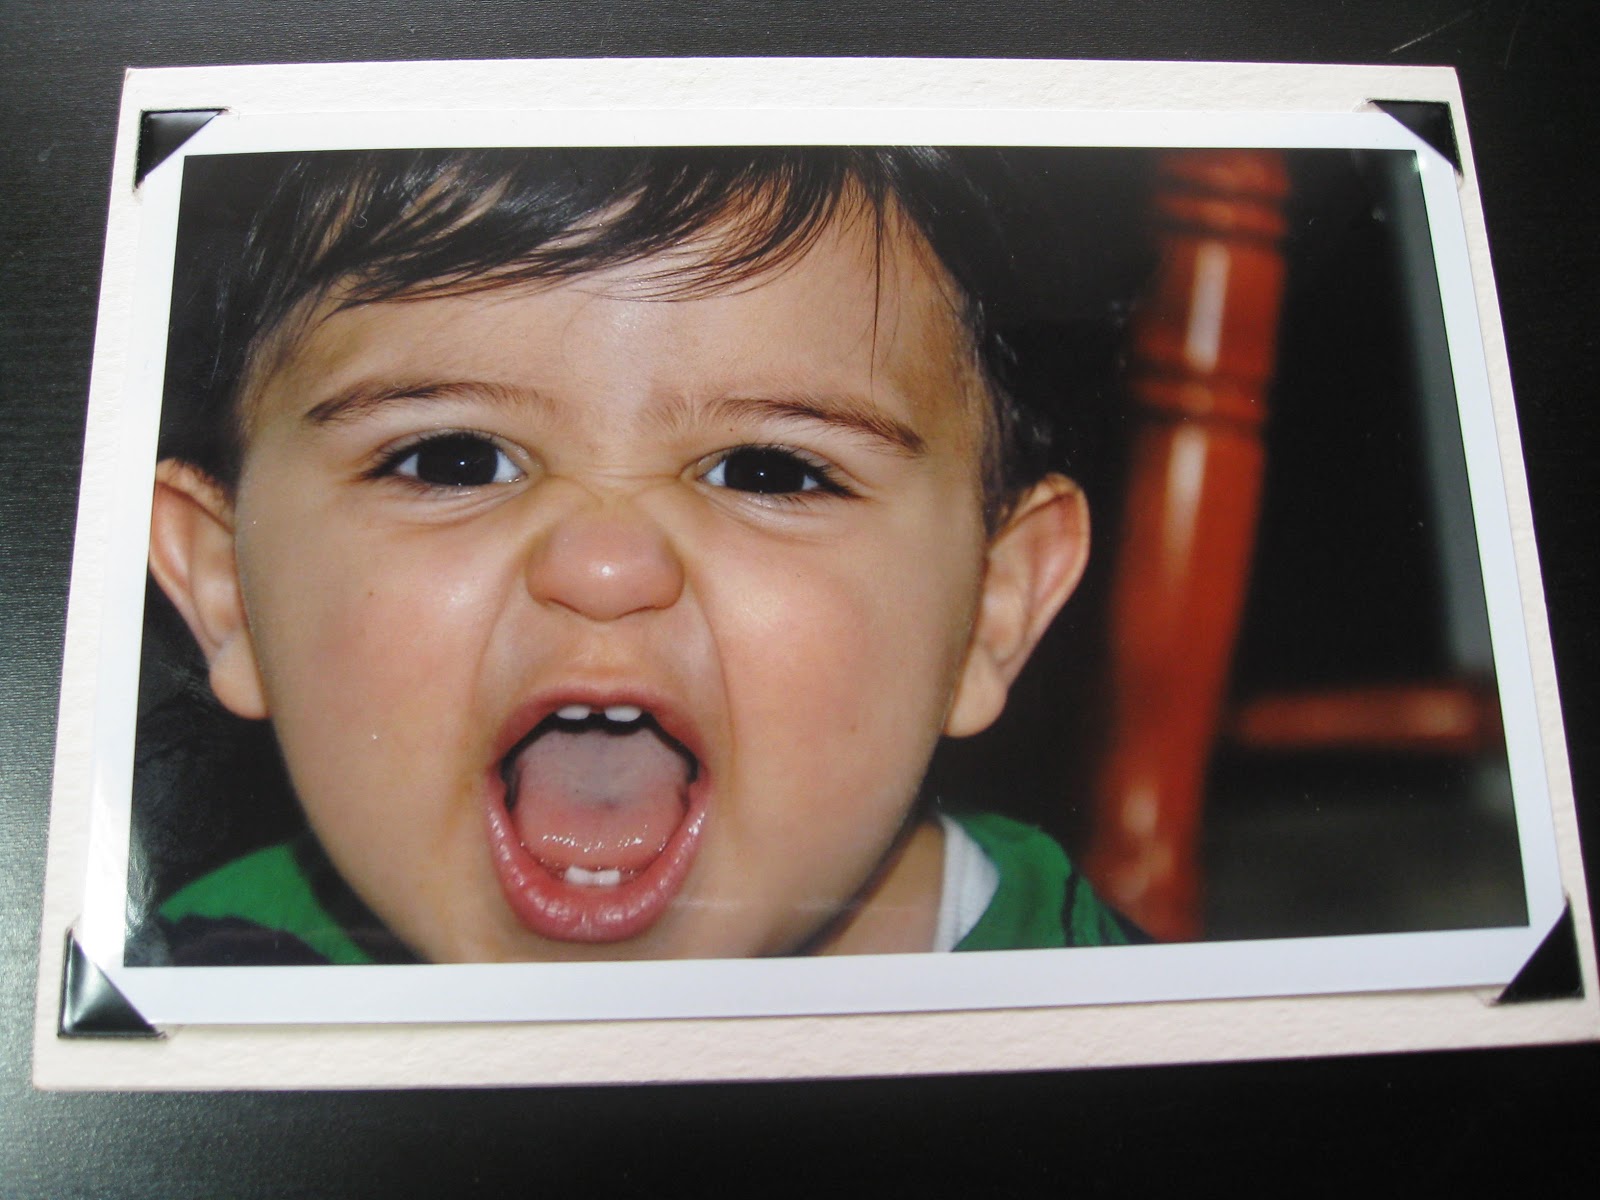
Once all the corners are in place, I center the photo above the note card and adhere it...


It's as simple as that! Add a note on the inside and your ready to go!

6.13.2011

Reinventing The Old

What do you do with a super long necklace that you don't quite want to wear anymore???


Turn it into a multi-layered wrap bracelet!


5 years ago I made this necklace with a hook and eye clasp on it so I could either wear it very long or wrapped around my neck twice.   Fast forward to today....I have maybe worn this necklace once!  I was going to take it apart until an idea popped in my head.

I started wrapping it around my wrist and it fit perfectly!  The clasp also makes it pretty easy to get on and off.  


Now, I have a new wrap bracelet just like the ones that I was raving about a few weeks ago (here)!

6.10.2011

Coconut Curry Lentil Soup

Have you been on the 101 cookbooks site? If you haven't, go there now!  She has some great vegetarian recipes, photos and travel posts. 


I've been wanting to make this Coconut Curry Soup Recipe since I saw it on the website months ago. 

Ingredients:

1 cup yellow split peas
1 cup red split lentils
7 cups water
1 medium carrot, cut into 1/2-inch dice
2 tablespoons fresh peeled and minced ginger
2 tablespoons curry powder
2 tablespoons butter or ghee
8 green onions (scallions), thinly sliced
1/3 cup golden raisins (I used regular raisins and it still came out great)
1/3  cup tomato paste
1 14-ounce can coconut milk
2 teaspoons fine grain sea salt
one small handful cilantro, chopped


Give the split peas and lentils a good rinse - until they no longer put off murky water. Place them in an extra-large soup pot, cover with the water, and bring to a boil. Reduce heat to a simmer and add the carrot and 1/4 of the ginger. Cover and simmer for about 30 minutes, or until the split peas are soft.

In the meantime, in a small dry skillet or saucepan over low heat, toast the curry powder until it is quite fragrant. Be careful though, you don't want to burn the curry powder, just toast it. Set aside. Place the butter in a pan over medium heat, add half of the green onions, the remaining ginger, and raisins. Saute for two minutes stirring constantly, then add the tomato paste and saute for another minute or two more.


Add the toasted curry powder to the tomato paste mixture, mix well, and then add this to the simmering soup along with the coconut milk and salt. Simmer, uncovered, for 20 minutes or so. The texture should thicken up, but you can play around with the consistency if you like by adding more water, a bit at a time, if you like. Or simmer longer for a thicker consistency. The thicker this soup got, the more I liked it.

Sprinkle each bowl generously with cilantro and the remaining green onions.

Serves 6.

Prep time: 10 min - Cook time: 35 min

Recipe via 101 Cookbooks


So delicious!

6.09.2011

Quick Tip

When beading with Soft Flex, or any other beading wire, I never cut the full length of wire I need. First, I pull out a small amount of soft flex, maybe foot or so, and begin beading. If I need more wire, I pull it out as needed.


Now, dont get sissor happy just yet! If I am all finished, I add the clasp the end I have been using to bead. Once the clasp is attached, I'm ready to cut the other end and detach the strand from the spool. At this point, attach the loose end to the other end of the clasp.

Voila...Your finished!

This way keeps you from dropping beads all over the floor when they slip off the opposite end you are working on.

This also will save you from wasting your soft flex. When I pre-cut a strand before beading, I often find that I have cut way more wire than I need. The extra soft flex is usually too long to do anything with and goes into the garbage...

What I Would Have Worn

If I had this dress in my closet...Luckily it's on it's way :)