Showing posts with label How To. Show all posts

8.28.2011

Tile Coasters

I was on Pinterest and found a link on how to make these cute coasters:


I really NEVER use coasters, but was feeling a little crafty and wanted to do something easy...And these were easy!


All you need:

tiles (these are slightly bigger than 4x4)
Scrap book paper in 4"x4" sheets
modge podge
a sealing spray
felt circles for the bottom of the tile.

How to:

Cover the tiles with the modge podge and place paper in center. Smooth out the paper then add more modge podge over the paper, covering the tile.  Once dry, spray the tile with a sealant and add felt circles to the bottom of the tile.

7.19.2011

DIY: Chevron Necklace

I'm slightly loving all the chevron patterns I've been seeing and wanted to translate the pattern into a necklace. It took me some playing around, but I think I've come up with something I'm happy with.


What you'll need:

Ellongated oval beads - I used 12 - Found here
1 focal piece bead- Found here
Chain 24"- 30"
Eyepins (same amount as beads)
pliers - flat, round and needle nose.

First, set up each of your beads.


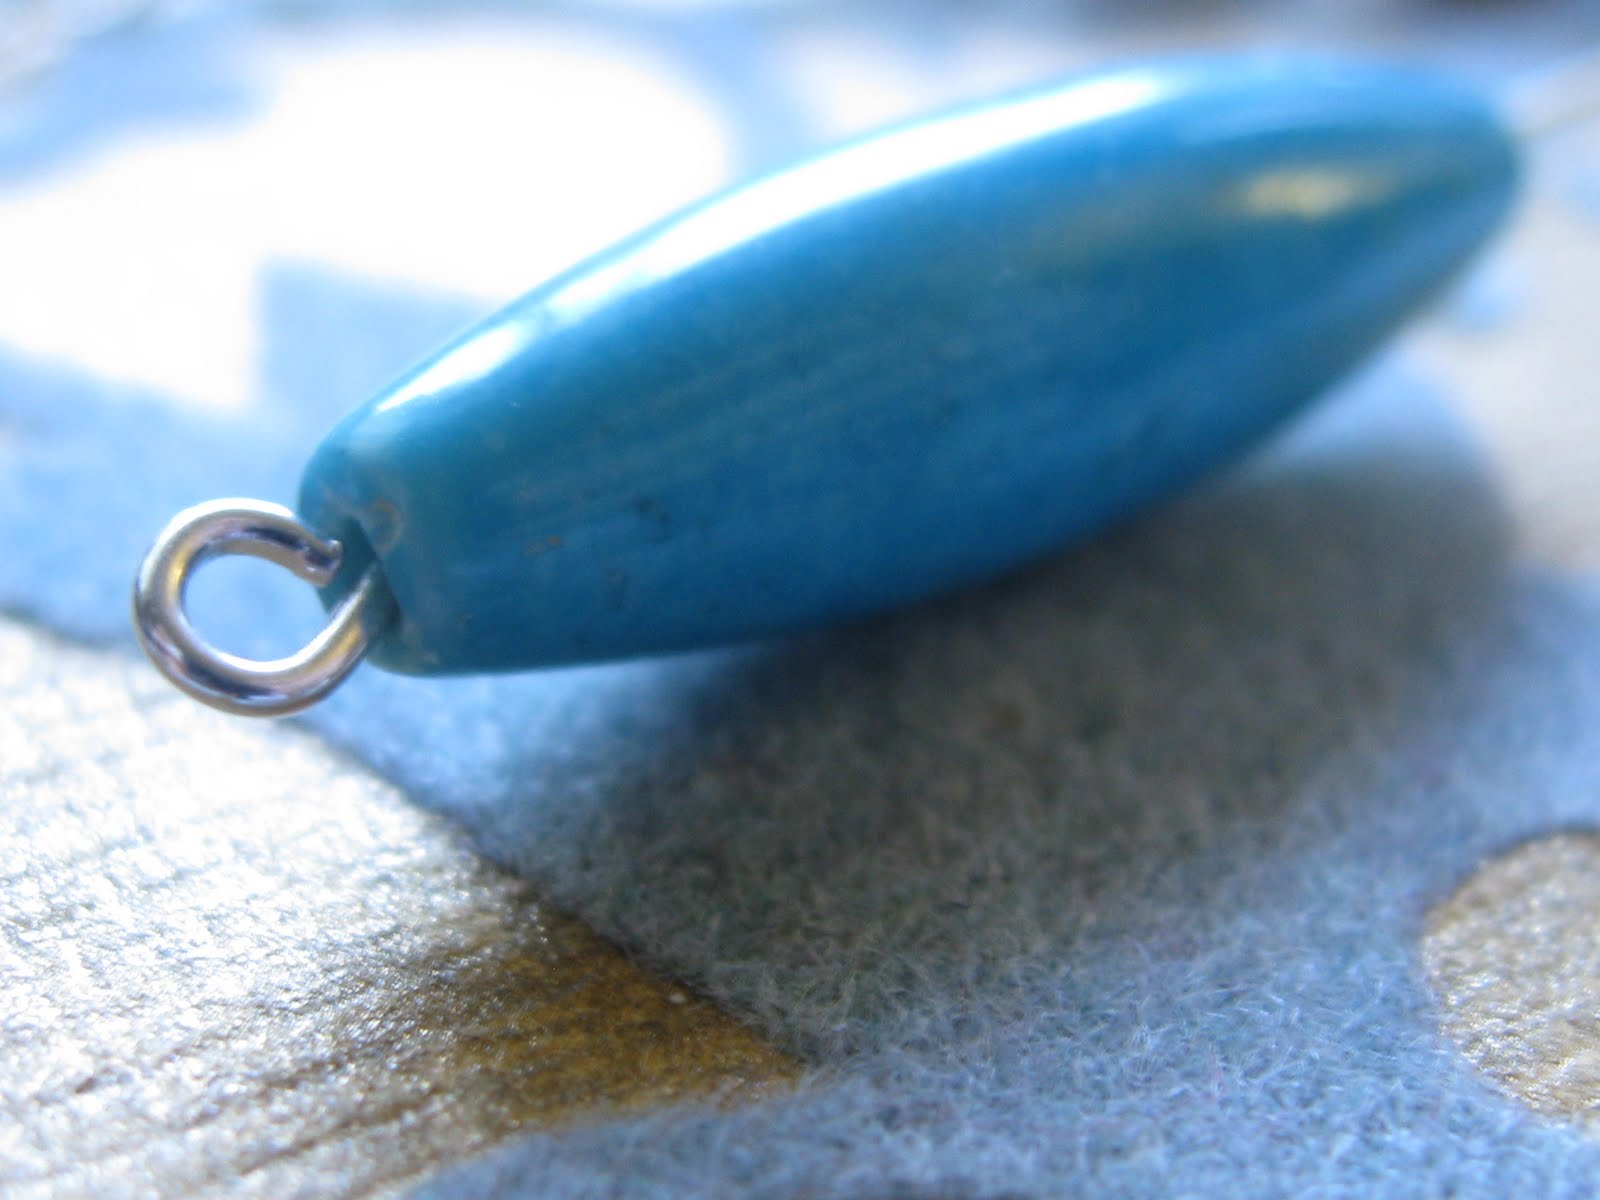
Make sure that the eye pin is at least 1/4-1/2" longer than the bead.  Put the bead on the eye pin and make a Simple Loop.  To open the loop, using needle nose pliers, grasp where the loop opens and move it towards or away from you.  Never bend the loop back into the "straight" direction to open it. The metal will become weak and break.


Begin attaching the beads to the chain. First determine how long you want the necklace. If its 18" cut two 9" pieces of chain and line them up next to each other with some space in between. Cut a 3" strand of chain and place it between the 9" ones so they are lined up at the bottom.   Attach the eye pin of the first bead to the 9" chain on one side and to the first link of the 3" chain on the other. Now attach the next bead to the 3" chain in the same link as the first bead and the other side to the 9". It should form a line or a v when held up.


Continue working your way down.  I used every other chain link when attaching the turquoise because my beads were on the larger side.


When you are finished with adding your beads you should have some chain links hanging down (picture below). Cut the ones on the outside and leave the middle chain longer one chain link longer. Take your large focal bead or pendant and attach it to the middle chain.


Finished product in action!


P.S. Why do my legs look like Gumby's?


AND...I just noticed this little gem on Anthropologie's website...Look familiar?

Anthropologie's Golden Rule Necklace


6.08.2011

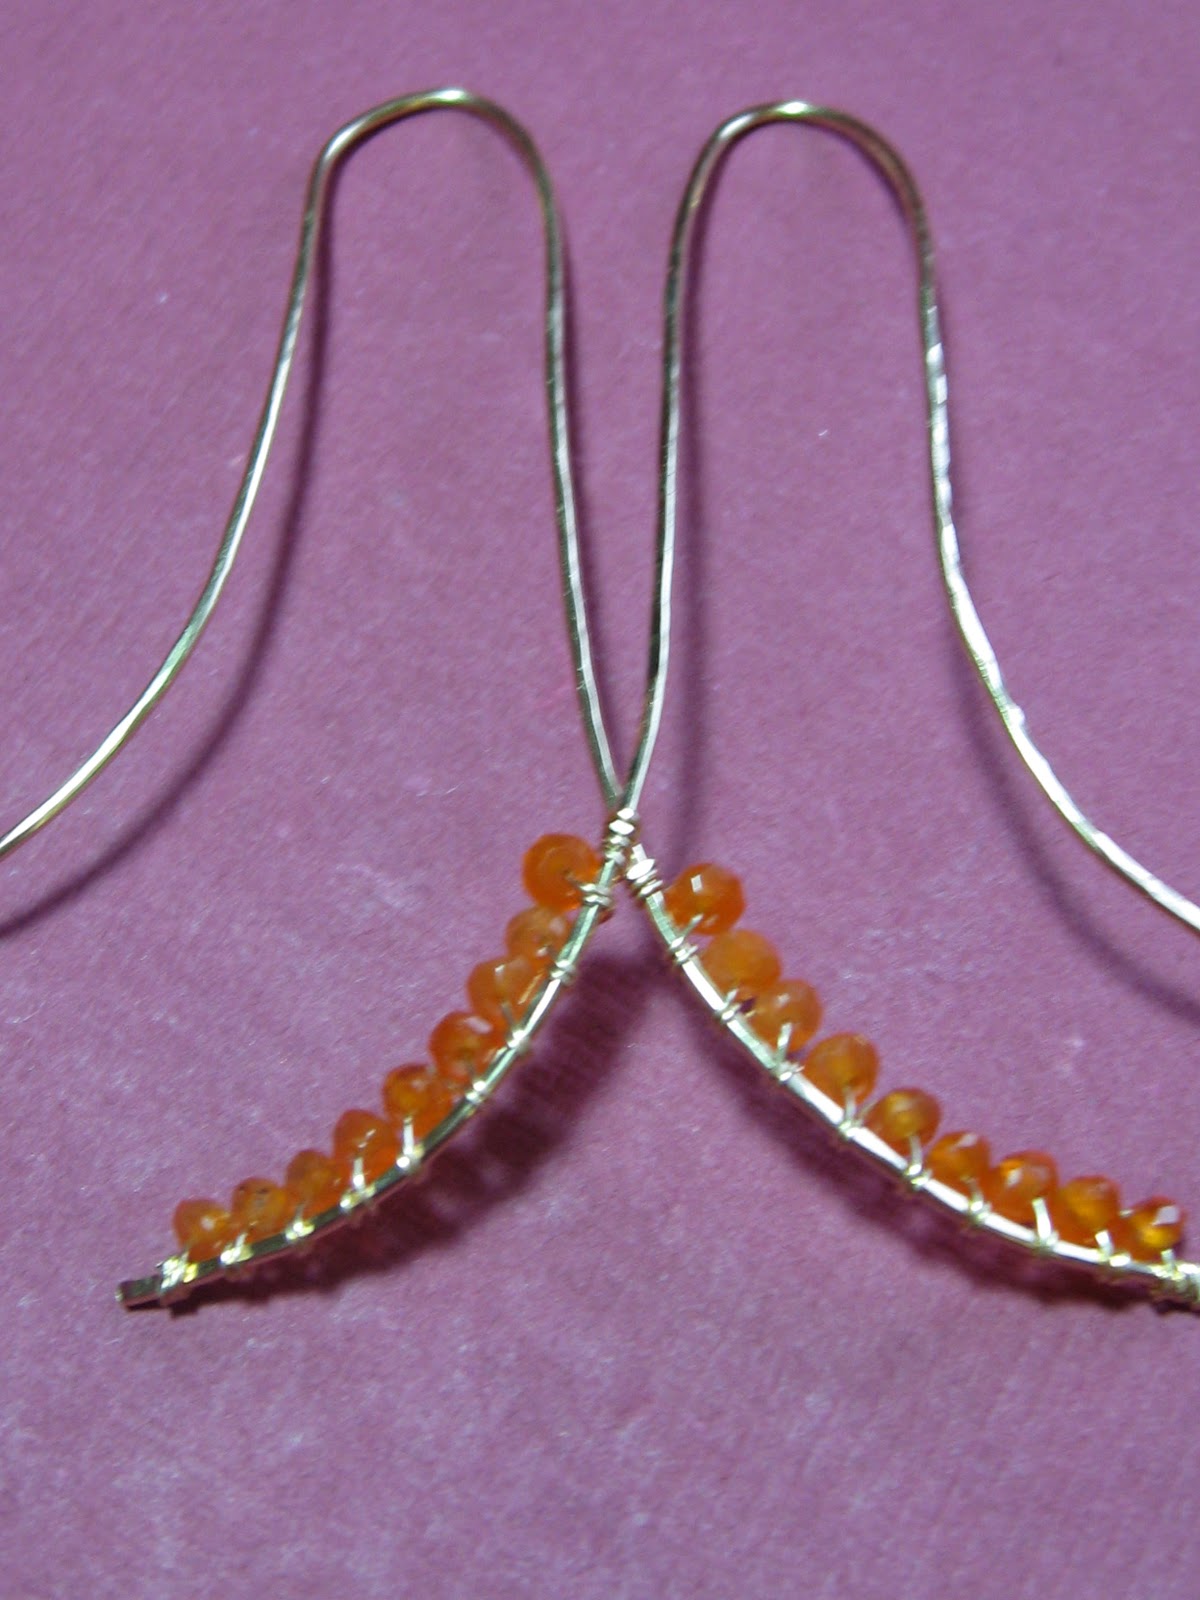
Anthro Inspiration - Rambling Amethyst Earrings

I loved the Rambling Amethyst Earrings from Anthropologie, but did not love the price tag. At $158, I knew I could make them myself for much cheaper.


What you'll need:

*10" of 20 gauge half hard gold filled wire
*12-15" of 28 gauge soft gold filled wire
*18 small gems of your choice - I used 3mm gemstones. Similar here.
*hammer
*metal block to hammer on
*wig-jig or just free form the shape with your hands
*wire cutters

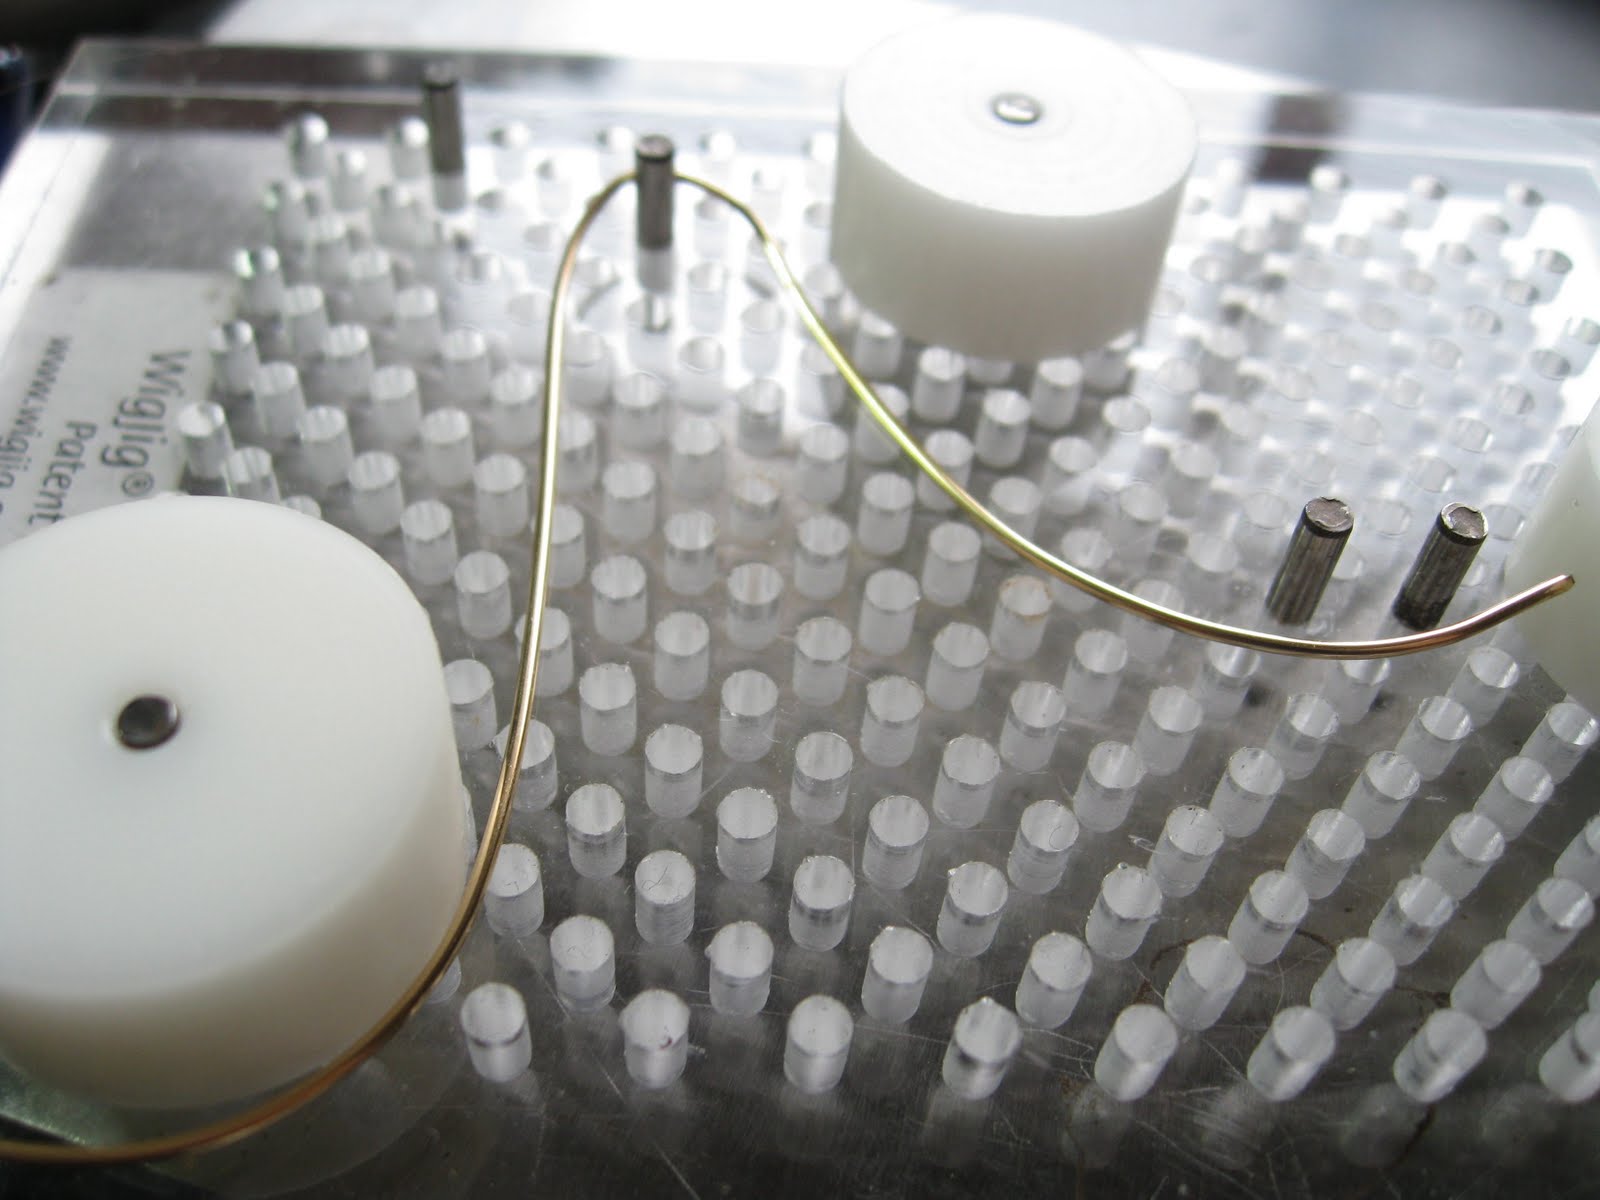
First, I cut two 5"pieces of the 20 gauge wire and shaped the wire into the upside down U shape. I used the wig-jig as a starting point for shaping, then finished up with my hands to ensure the two pieces were identical.


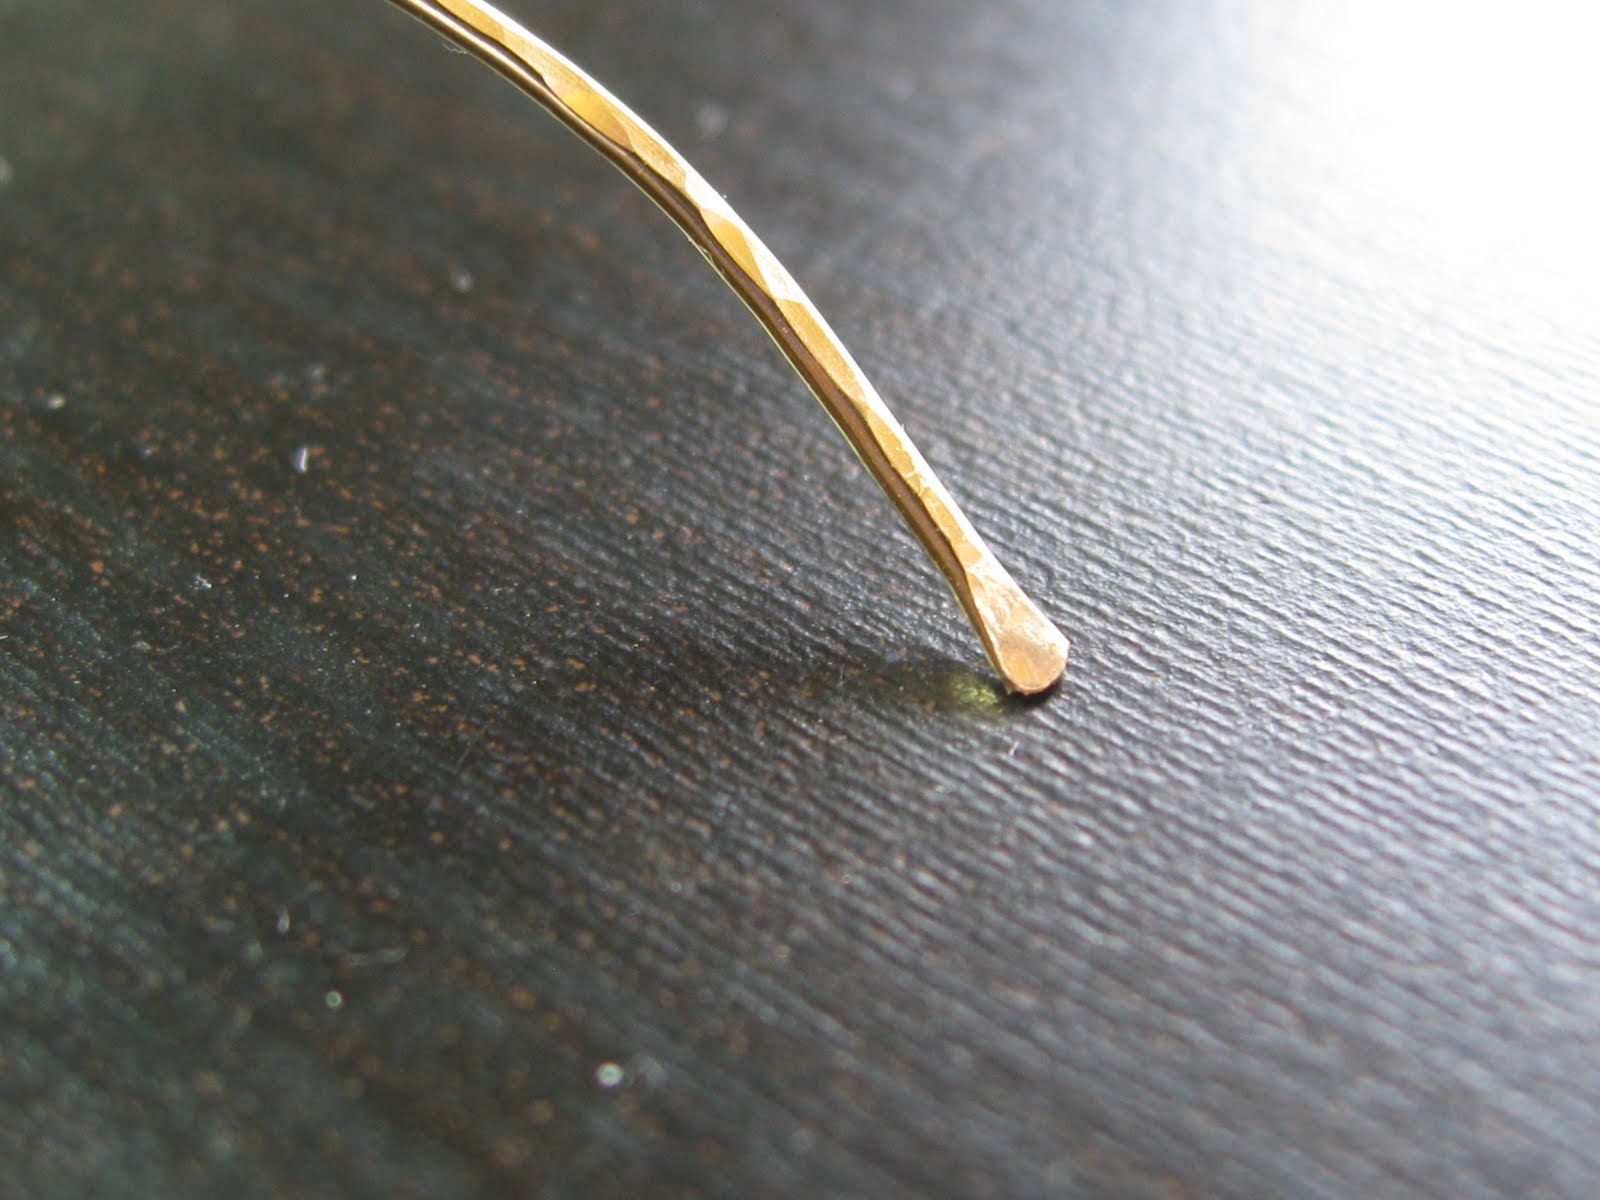
Once I had the basic shape, I placed the formed wire onto the metal block and used a hammer with a rounded tip to give the wire texture.  Also, hammering hardens the wire, making it more stable and rigid.


I made sure to hammer the end of the wire, where the beads would be wire wrapped,  a few extra times. The width becomes larger and will keep the wire-wraps from sliding off.  *If you have a set of files, you can also smooth out the ends of the wire to remove any jagged edges.


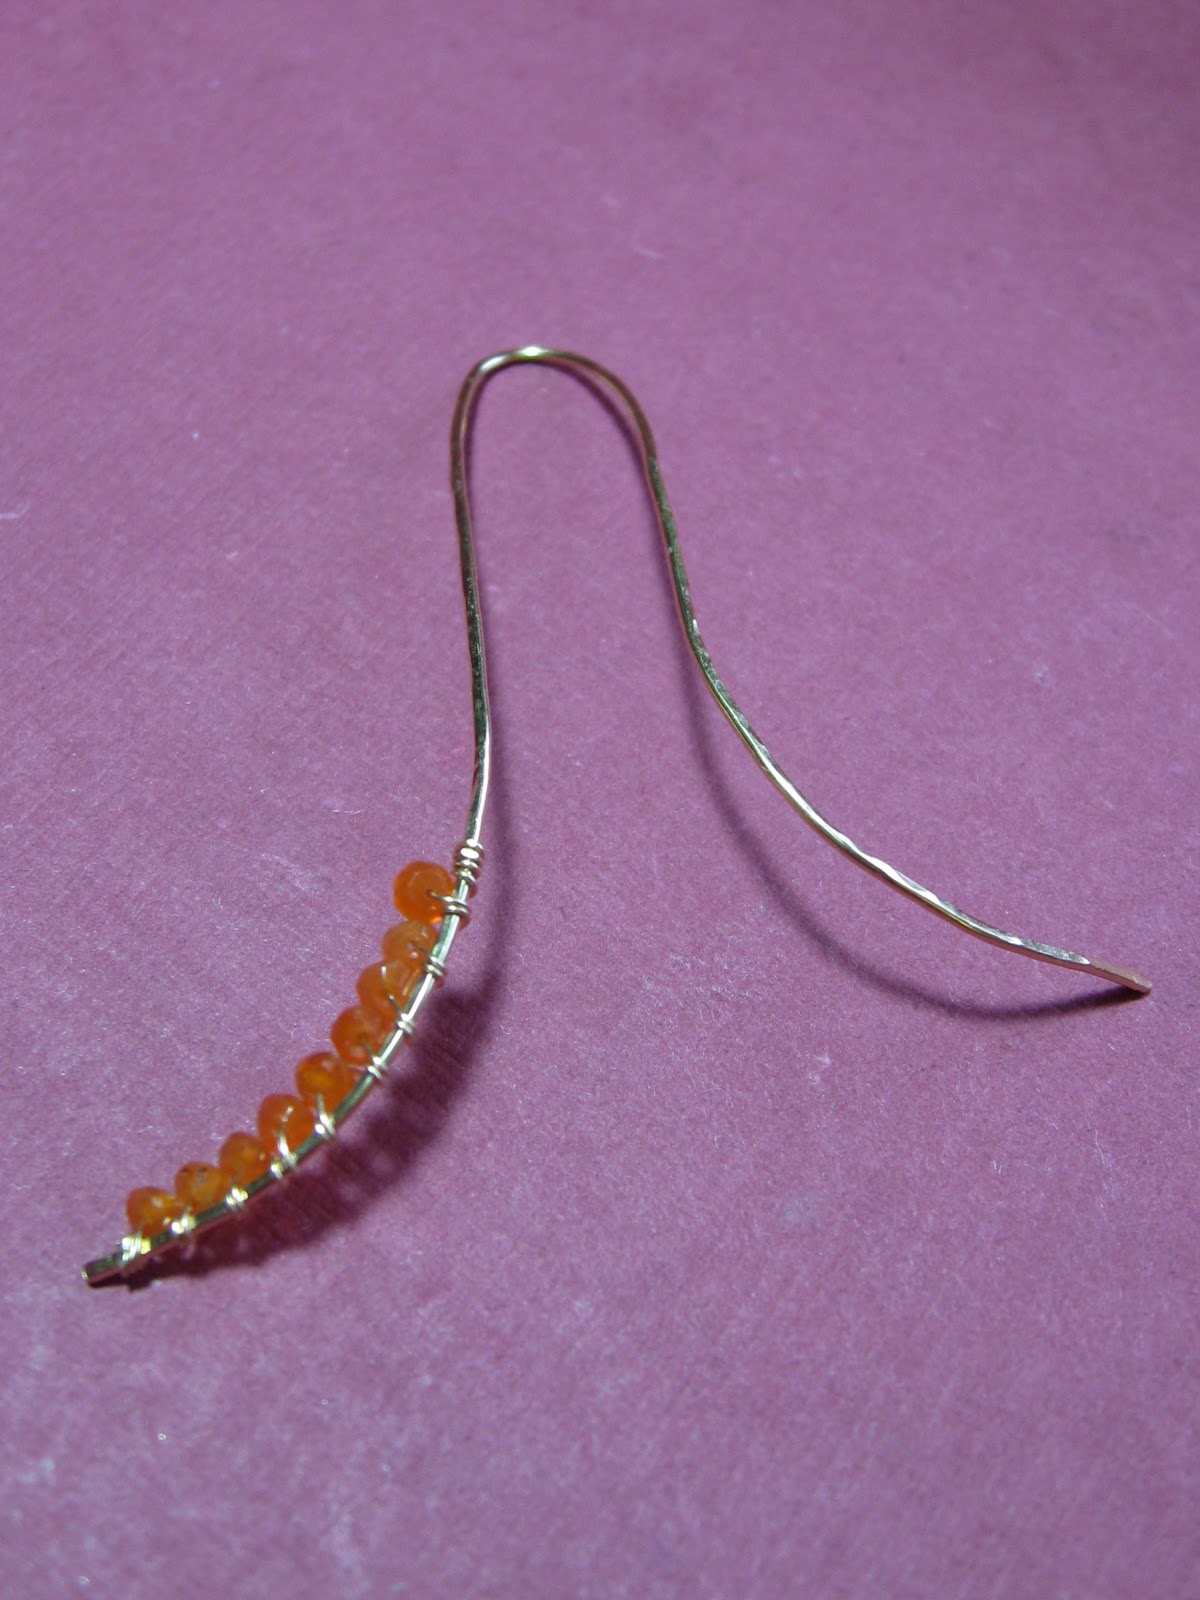
To begin wire wrapping, I took about 15" of the 28 gauge soft wire and tightly wrapped it around the metal 3 times, leaving a 1" tail.  Before adding any beads, I lightly hammered the wrapping to harden it slightly.  Add the first bead onto the 28 gauge wire and hold it with your finger close to the base metal. Wrap the wire 2 full turns around the base metal. Once you make it back to top, add another bead and repeat the process. Once you have added the 9th and final bead, tightly wrap the wire a few more times (4 or 5) around the base metal.  Cut the left over metal close to the base.  Use a needle nose plier to make the wrappings even tighter and secure.  Do the same for the tail we left at the start.


At this point, the earrings should like like this...


Using the rest of the material, repeat each step for the second earring.

The earrings from Anthro have ear wires attached by a small hole in the base metal.  Unless you have a drill and a drill bit, this is most likely not an option.  I decided to keep the earrings as is and thread the back of the earring (the one with out beads) through my pierced ear.


These were much cheaper then the Anthro version and fun to make. 

I'll post pictures once I get a chance to wear them!

Please let me know if you are interested in buying a pair...They run about $45

5.17.2011

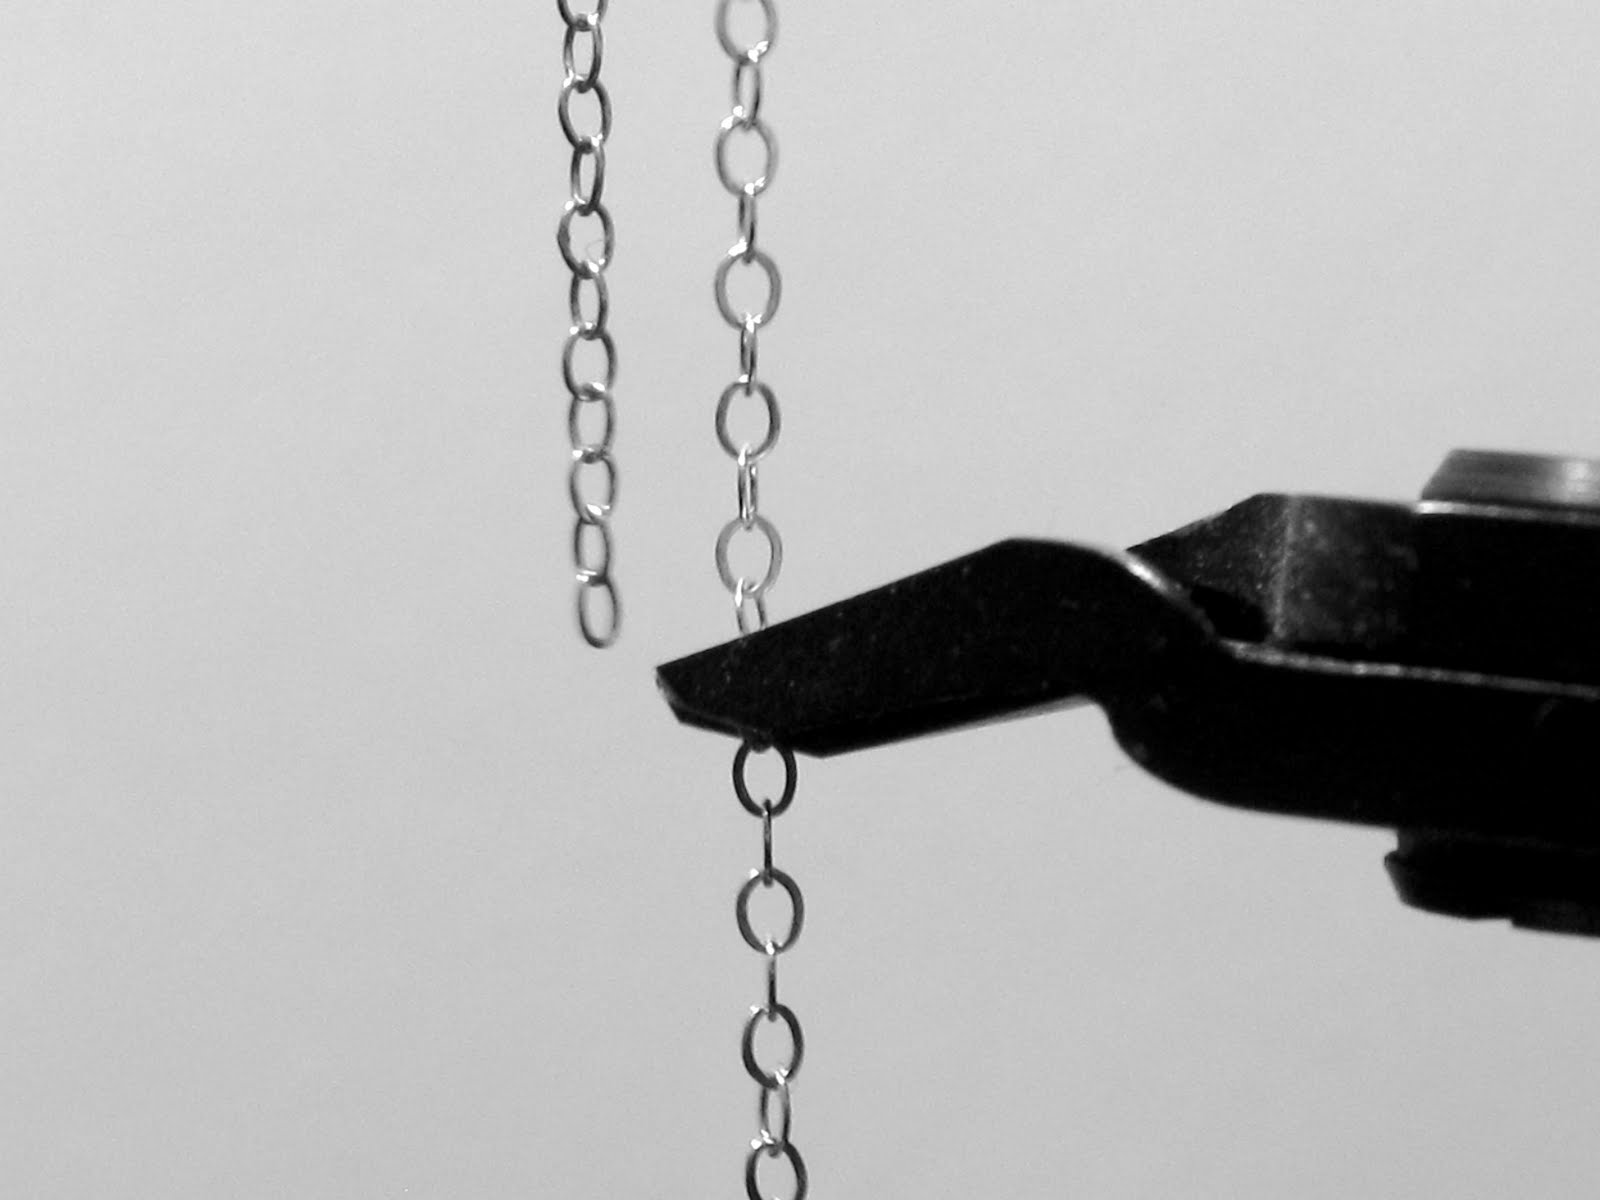
An Easy Way to Cut Chain

I don't know about you, but I could spend hours counting out individual links of a 1mm chain just to make a simple piece.

Save time and money....

Count out how long you want your chain to be (1 inch, 12 links, whatever).  Once you have your ideal chain length, take a tiny piece of wire (I use 26 gauge depending on the weight of the chain) and thread it through the top link of the chain. 


While holding the wire with the chain hanging in one hand, thread another uncut chain link through the wire. 


Let it hang down then cut it so it is even with the first chain length.


 It's so easy and quick!

4.26.2011

Wired - Intro to Beading Wire

From Fusion Beads

When I first started working with wire, I was totally confused. Gauge? Hardness?  Metal? Round? Half Round? I was clueless with too many options.

So let's clarify some things...

Gauge:

The trick with gauge is to remember the smaller number gauge is thicker than the higher number gauge (i.e. 14 gauge is much thicker than a 28 gauge). 

The type of bead you are working with will determine what gauge wire you need. Some beads are heavier with larger holes; a 20- 22 gauge wire will work perfectly. Most beaders use between 24  and 28 gauge for everyday projects. Small semi-precious gemstone briolettes, for instance, work well with 26 gauge wire. The wire is thin enough to go through even the smallest holes.

For making your own clasps, jump rings, ear wires and components any gauge between 14- 20 will work just fine.

Hardness:

Dead Soft: Soft wire is extremely malleable.  It is great for wire weaving and can be used for wire wrapped very delicate gemstones.  It is not recommended for larger or heavier stones or as connections between stones. Okay to use for a gemstone that is dangling down.

Half Hard:    

Shape

For the most part, round is your best option. It will have the cleanest lines when wire wrapping. Half round or square will give your jewelry a different look but may be harder to wrap.   Most of the time they are useful when working with cabochons.
Half Hard from Fusion Beads
Square from Fusion Beads
 Metal:

 Sterling Silver and Gold-filled metal are the best for a reasonable price.  They will both last for quite some time when cared for properly. Fine Silver and Gold are options too, but VERY expensive.

Tools:

Chain Nose Pliers:
5in Chain Nose Pliers

Also known as needle nose, these pliers have a pointed tip and a textured metal base.  Great  for bending and grasping wire.

Round Nose Pliers:
Round Nose Pliers
These have a rounded, pointed tip that are used for making loops and wire wrapping.

Flat Nose Pliers:

Flat Nose Pliers
Great for holding onto metal wire and making 90 degree angles.

Wire Cutters:

Flush Cutters

There are many different wire cutters out there. I would splurge a little on this one, otherwise the wire you are cutting can actually indent the metal blades.

Oh! I almost forgot...

Soft wire gets kinks and knots very easily.  A nylon jaw plier to straighten the wire works like a charm.
 

4.23.2011

Marbleized Easter Eggs

From Epicurious
 Who doesn't love dying Easter eggs? Who loves eating a dozen hard boiled eggs after?? 1 or 2 ok...but 12? That's just asking for a stomach ache.  So make your stomach happy and remove the yolk out of the egg before dying them. This also allows you the keep the dyed egg shells for as long as you like.

I found these instructions from Epicurious that show us an easy way to remove the yolk from an egg: 

*Leave the eggs in the carton while you pierce them. Place the pin point-down against the top of the egg and lightly tap the pin head with the back of the spoon until it pierces the egg. Insert the wooden skewer into the egg and gently press it down until it pierces the bottom of the egg. 

*Remove the egg from the carton, hold it over the glass, and push the skewer up and down through the contents several times to break the yolk. Remove the skewer and place a straw over the hole. Blow through the straw until the contents of the egg are emptied into the glass. Rinse blown eggs in warm water and dry with a paper towel or let them dry in a clean egg carton. 

*Before decorating, gently wash the inside and outside of the empty eggshells with dishwashing detergent and rinse them. If water remains inside a shell, use a straw to blow it out. Let the eggs dry thoroughly on a rack (see tip, below) or in their carton. 


I love the way the eggs shown above were painted. The marbleized effect is fun and mature...perfect for both kids and their parents.

 Here's what you need:
  • Enamel hobby paints: green, lavender, and purple, or colors of your choice
  • Disposable aluminum roasting pans, one for each color combination
  • Rubber gloves
  • Wooden skewers
  • Blown eggs, as many as desired, clean and dry
  • Coffee filters

1. Decide the color or combinations you want to use—you may use one or more colors of paint for each marbling bath. 

2. For each bath, fill a roasting pan with about 4 inches of water. Put on the rubber gloves. Add about 1 teaspoon of each color paint in the chosen combination. Swirl the end of a skewer through the paint. 

3. Place an egg on the end of a skewer. Swirl it around through the paint and water. When the paint has adhered to the egg in a marbled pattern, remove the egg from the skewer to an egg carton and let it dry.

4. Repeat this process for each egg, using the different color marbleizing baths as you wish. 

5. To dispose of paint responsibly, pour each bath slowly through a coffee filter, letting the water drain down the sink and capturing the paint. Throw away the paint. 

Some other designs I love...


From Martha


More Marbleized from Martha


Whats your favorite way to decorate them??