6.29.2011

Kristina Klarin

 
I found Krstina Klarin's blog the other day and was surprised to see that she is also a talented jewelry designer!

She even gave us a little peek into her studio: 


 Images via kristina klarin

Each piece is a little bit of whimsy, a little bit of 60's vintage.  Find more here.

6.28.2011

Etsy Artist: bfrend bracelets

Speaking of Friendship Bracelets, I found this talented designer who is bringing these bracelets to the next level.


Her name is Monika, from the Doctor's Closet,  and she is taking a simple embroidery floss and lanyard friendship bracelet and finishing it off with chunky metal chains.

Check out her store, BFrend, on Etsy...She has only been on for a few days, but designs are already selling out!

Pinky Swear bfrend bracelet

6.27.2011

Friendship Bracelets

Apparently, friendship bracelets are back..big time.  And 12 year old girls at summer camp wont be the only ones wearing them.


Remember this DIY on the hex nut bracelet, found here


The girls at honestly...wtf have some great tutorials on bracelets to keep you busy for while!

6.26.2011

The weekend remixed


top: target. skirt: anthro. shoes: waiving grain. necklace: vintage. belt: jcrew.

I felt like a cross between Lucile Ball and Minnie Mouse in this outfit, but still kinda liked it!


top: target boyfriend tee. skirt: anthro. shoes: kelsi daggar. necklace: self-made.

Instagram

Instagram is one of my favorite photography apps for the iphone. It turns ordinary pictures into AMAZING shots and it's free..always a plus.

Cookbooks


.


6.24.2011

Paper Lanterns


 I saw these the other day and thought these would be perfect in really bright colors for a outdoor summer party.


Tools and Materials
  • Tissue-paper disks in assorted colors
  • Double-sided tape
  • 14-, 16-, or 18-inch-diameter paper lanterns
1. Starting at the bottom of the lantern, use small squares of tape to begin attaching tissue-paper disks around the hole, overlapping them.
2. Working toward the top, continue sticking and overlapping disks to cover the lantern.

For more info, check out Martha

6.21.2011

feathers and dandelions

I had a little stamping party by myself the other night.


These are two of my favorite stamps in my collection...


I used some embossing powder with glitter to give this little flower a bit of sparkle.

6.20.2011

Color Play: Coral and Light Blue

Who loves Sprinkles cupcakes??  I do!

Who would have thought their little dot toppers would bring color inspiration for mixing gemstones?


Red coral and light blue make a beautiful pair. I'm not usually a red fan, but adding the light blue brightens and gives it that modern girly feel...


Coral with Light Blue Faceted glass gemstones - available on Etsy

Coral with blue Amazonite, available on Etsy. The amazonite brings a creamy, almost cloudy feel to the bright red coral.


6.19.2011

weekend remix


JCrew Polka Dot shorts
Target Boyfriend Tee
Kelsi Dagger shoes
Anthropologie head band

Self Made Turquoise necklace
pearl earrings
multi-strand silver bracelet


Anthropologie Dress
Anthropologie Black Fool Proof Half Slip 
Woven Belt
Stuart Weitzman Sandals

Self-Made Coral Necklace

6.17.2011

Here we go

So, I've decided to do a challenge...A 30 for 30 challenge.  Check out my page, here, for more details.  In addition to my regular blogging, I'll be updating daily (eek, hopefully) on outfits that I'm wearing, using only 30 pieces of clothing for 30 days. 

I am a little late to the challenge, so here are my last few outfits....

Day 1


This is the one I posted a few days ago. Now you can see what it looks like in real life!

 Day 2


Blue Anthropologie Dress
Woven Anthropologie Belt
Multi Layer Turquoise necklace
Kelsi Dagger Sandals 
Turquoise ring

Day 3


Floral Skirt
Black and white striped Gap tank
Handmade jewelry
Anthro Earrings

Honey Peach Ice Cream


I've been in the mood to bake, but its way to hot to turn on the oven.  Next best thing...Ice cream!

I found this recipe on 
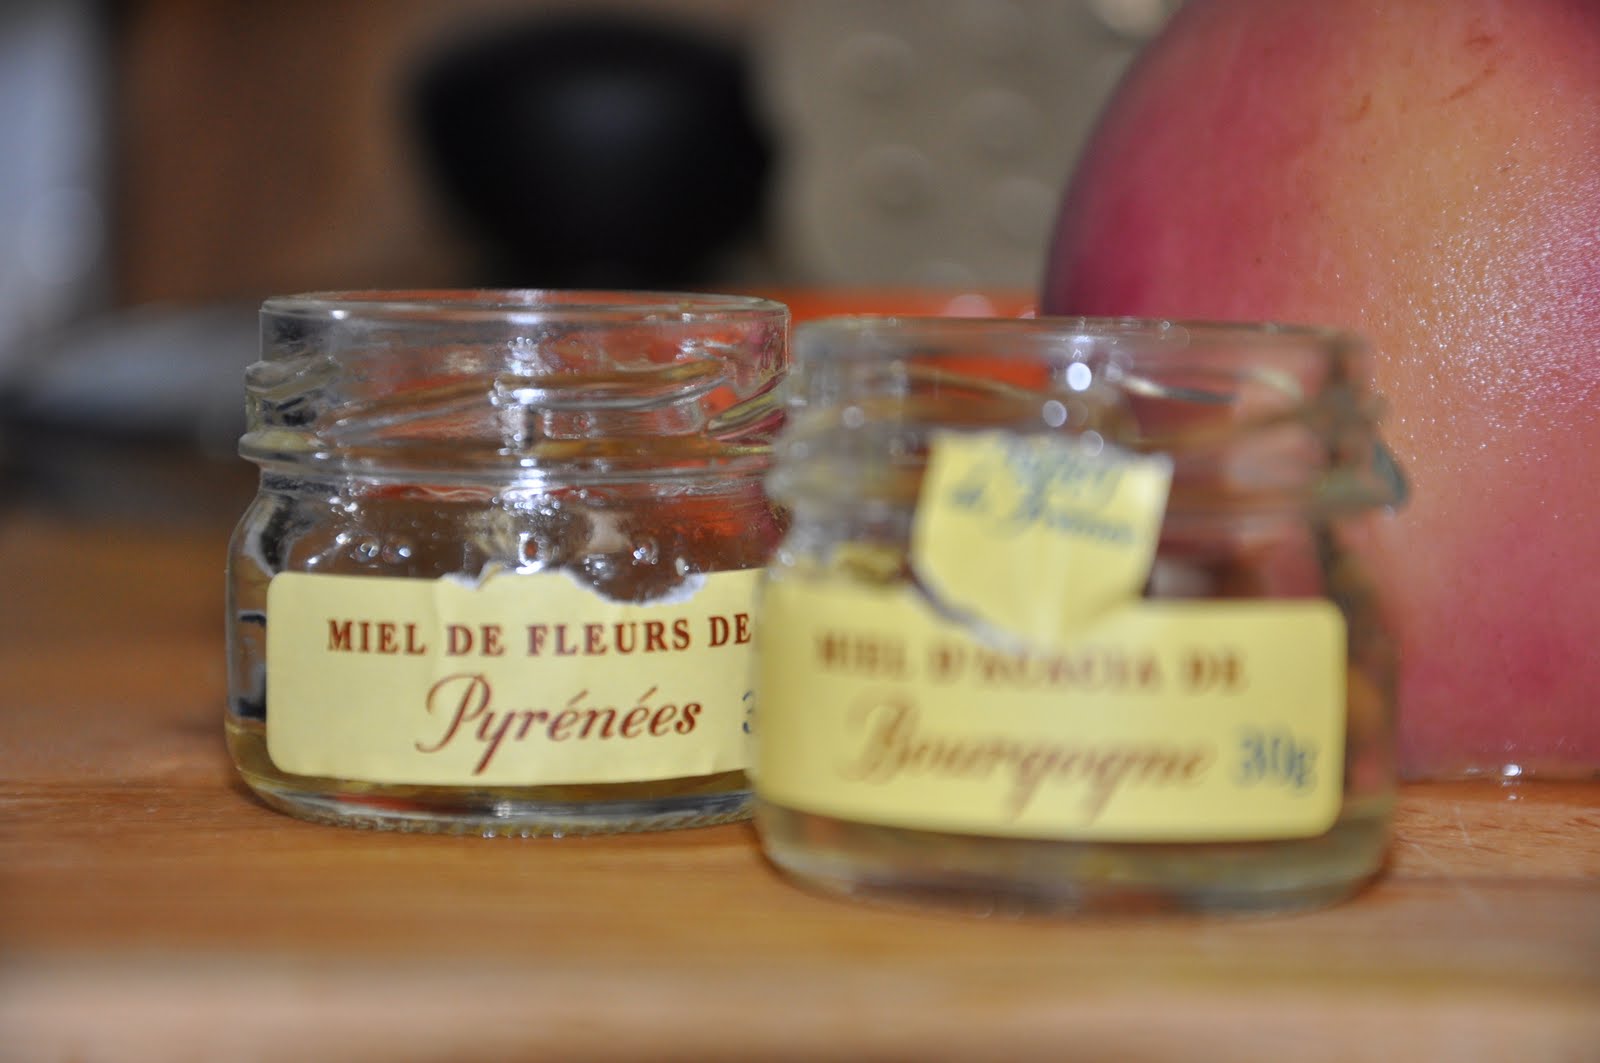
Ezra Pound Cake and it looked amazing. The farmers market peaches and honey from Europe I had on hand would make this recipe even more amazing.


What you need:

4 Large Peaches
1/4 C. Honey
1 C. Whole Milk
1 C. Heavy Cream
3 Large Egg Yolks
1/2 C. Sugar
2 teaspoons Pure Vanilla extract

To peel and pit the peaches:
Fill a large pot with enough water to cover your peaches. Bring the water to a boil. Lightly score the bottom of each peach with an X, using a knife.. Then add the peaches to the boiling water for 45 seconds. Using a slotted spoon, transfer the peaches to a bowl of ice water for 30 seconds. Remove the skin with your fingers or a paring knife. Cut along the seam of each peach to the pit, running your knife all the way around the fruit. Twist each half in opposite directions to free one half from the pit. Remove the pit with your fingers or the knife.  **Make sure that the peaches are ripe, I used one that wasn't, and the skin would not come off!


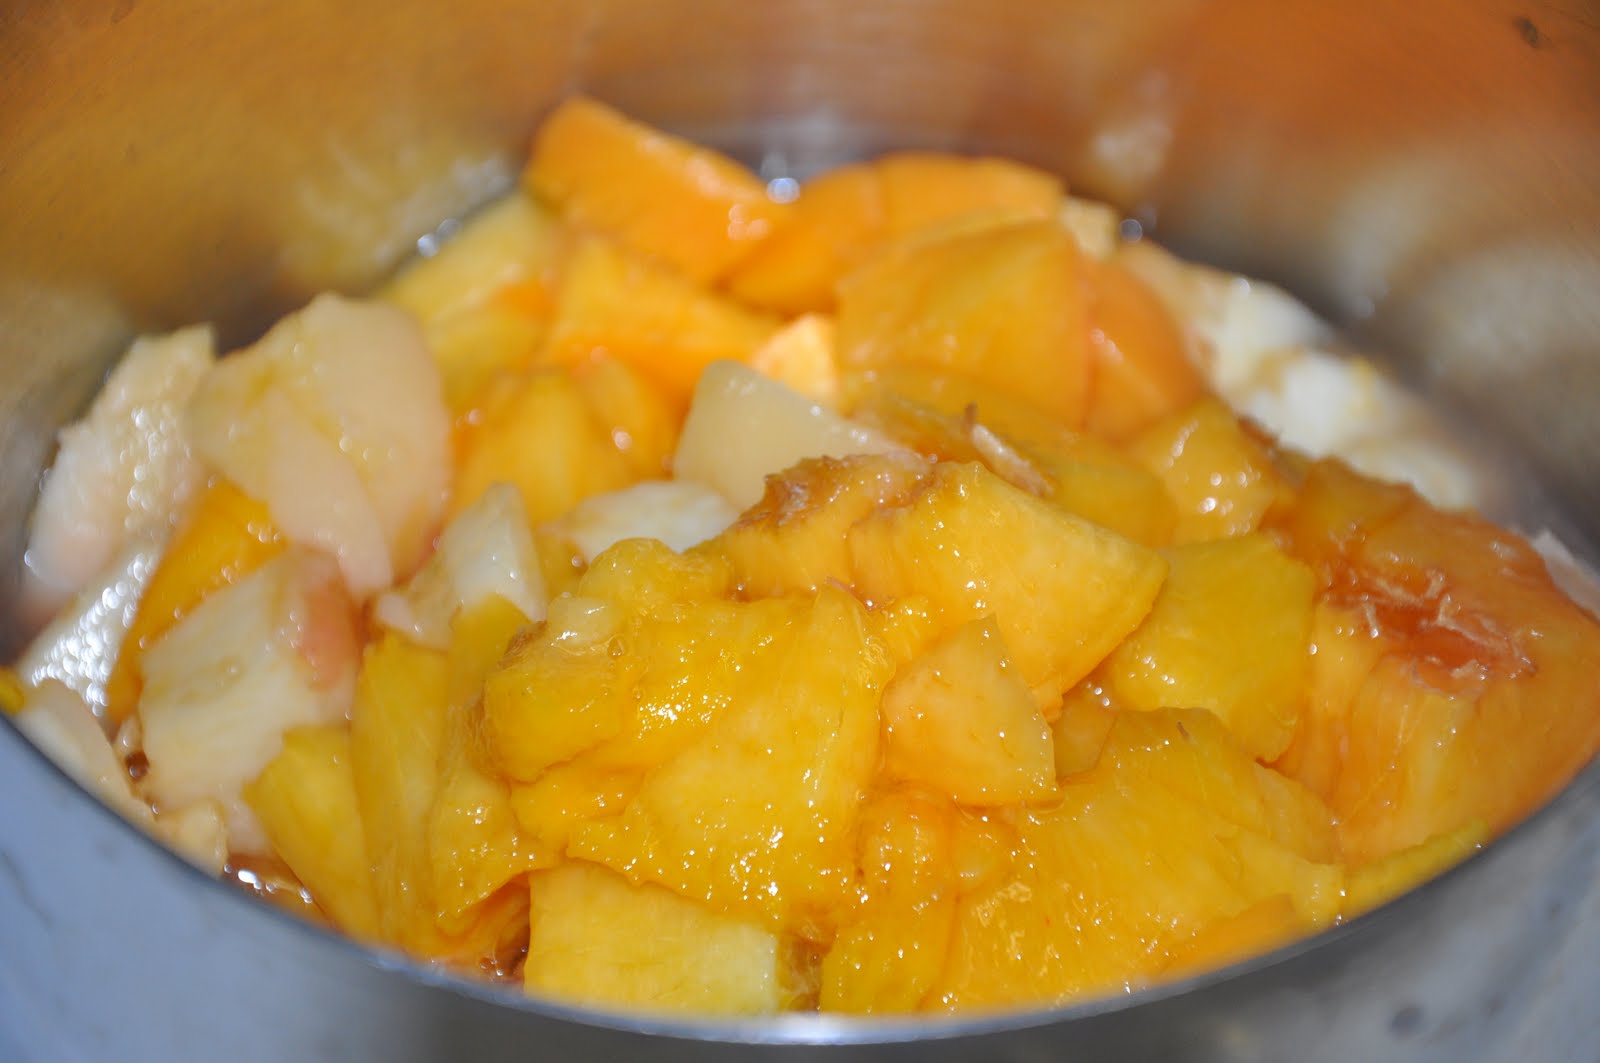
Coarsely chop HALF the peaches into 1/2-inch chunks, and toss them into a small saucepan. Add honey, and bring to a boil, then lower the heat, cover and cook, stirring occasionally, until the peaches are soft but not mushy, about 10 minutes. Puree the mixture using a blender, food processor or immersion blender. Set aside.


In a medium bowl, whisk the yolks and sugar together. Still whisking, drizzle in about one third of the hot liquid  slowly– this will temper the eggs so they don’t curdle. Slowly pour in the remaining liquid while continuing to whisk. Pour the custard back into the pan and cook over medium heat, stirring without stopping, until the custard thickens slightly and coats the back of a spoon. Immediately remove the pan from the heat, and pour the custard into a 2-quart glass measuring cup or clean heatproof bowl. Stir in the vanilla and peach puree.

Refrigerate - I'd leave it in there for an hour or two.

Spoon the custard into the ice cream maker, and follow manufacturer's instructions on freezing. Usually it should take about 20 minutes.  While the custard is churning, pour in the rest of the peaches. Once done, but in a container and freeze until the right consistency.

Another Tip on Tape

If your in the middle of a project, don't fret, add a little bit of tape to the end of the strand and your beads are secure until your ready to come back to your project!

6.16.2011

Beautiful Day in the City!

San Francisco summers are not exactly what I would call beautiful. So, when we have a day above 70 degrees, I make sure to dress in summer attire!


Did you notice I wore the earrings I made the other day?!  Love them!